Until now, you had to create the entire schedule manually. Now, you can save a lot of time and effort by importing your schedule from a file. In this article, you will learn how to do that.
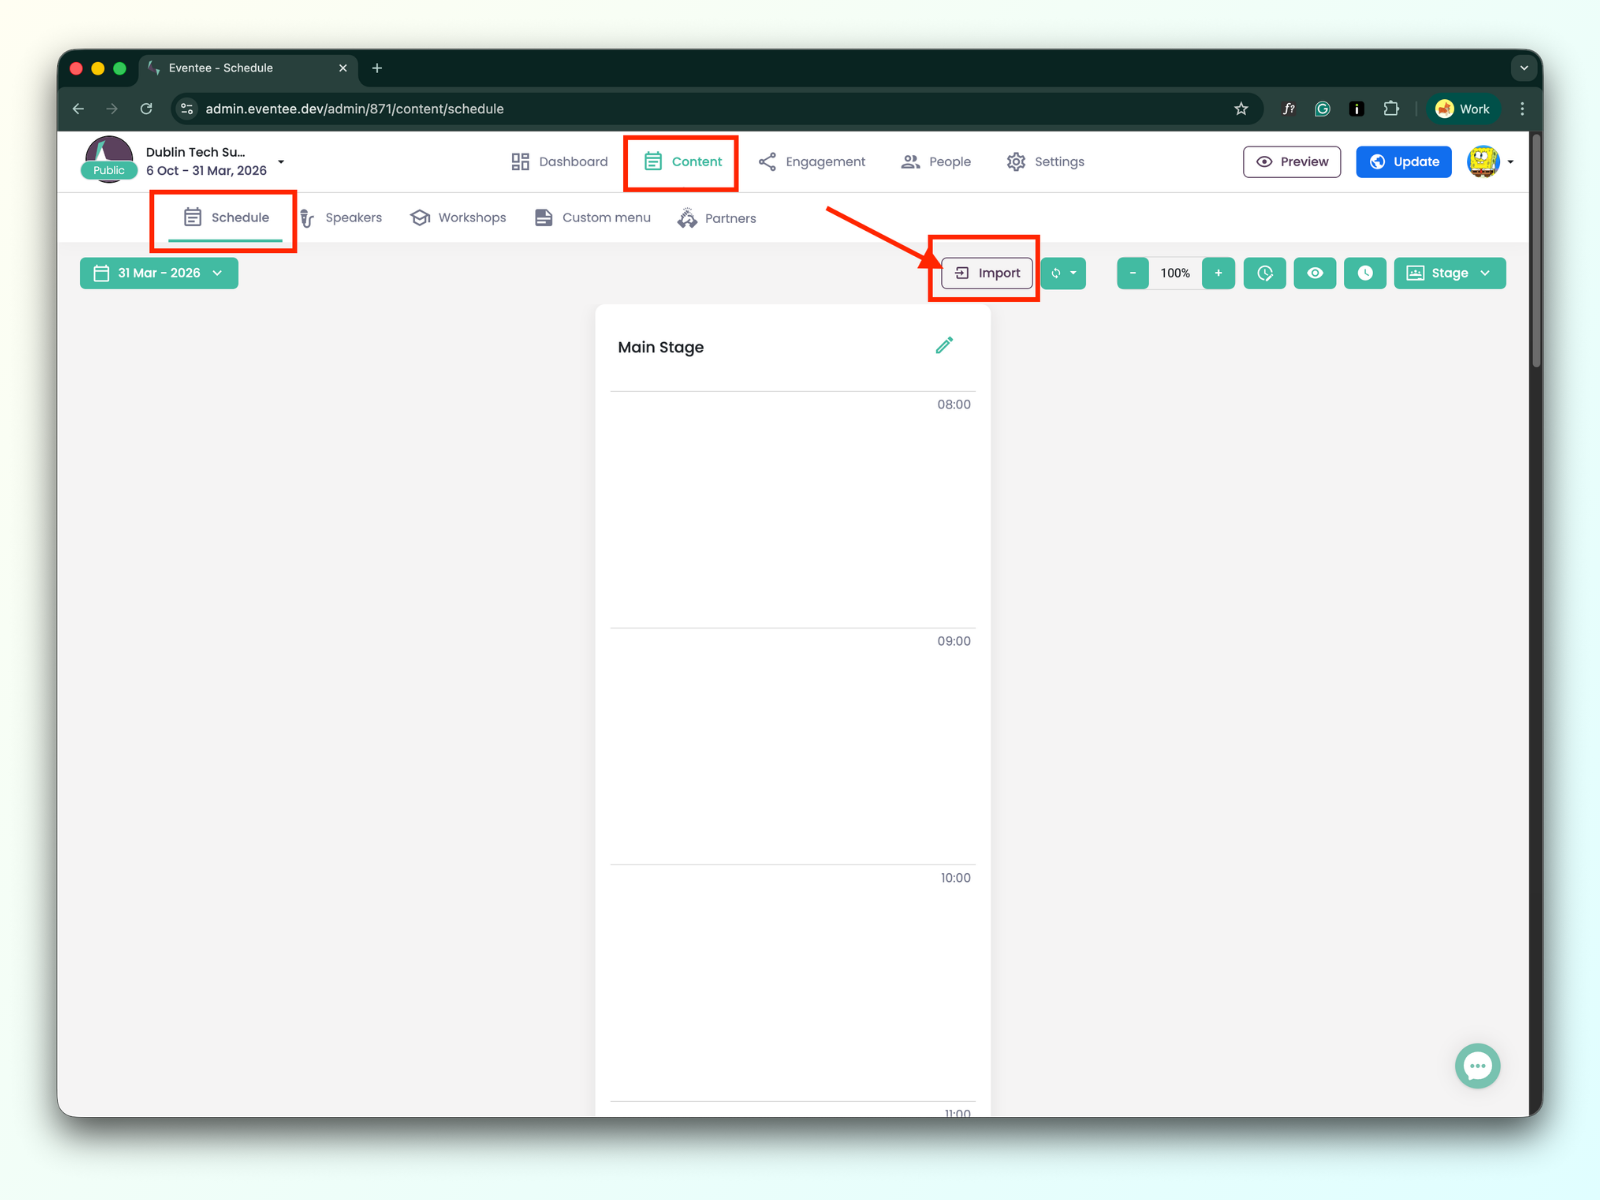
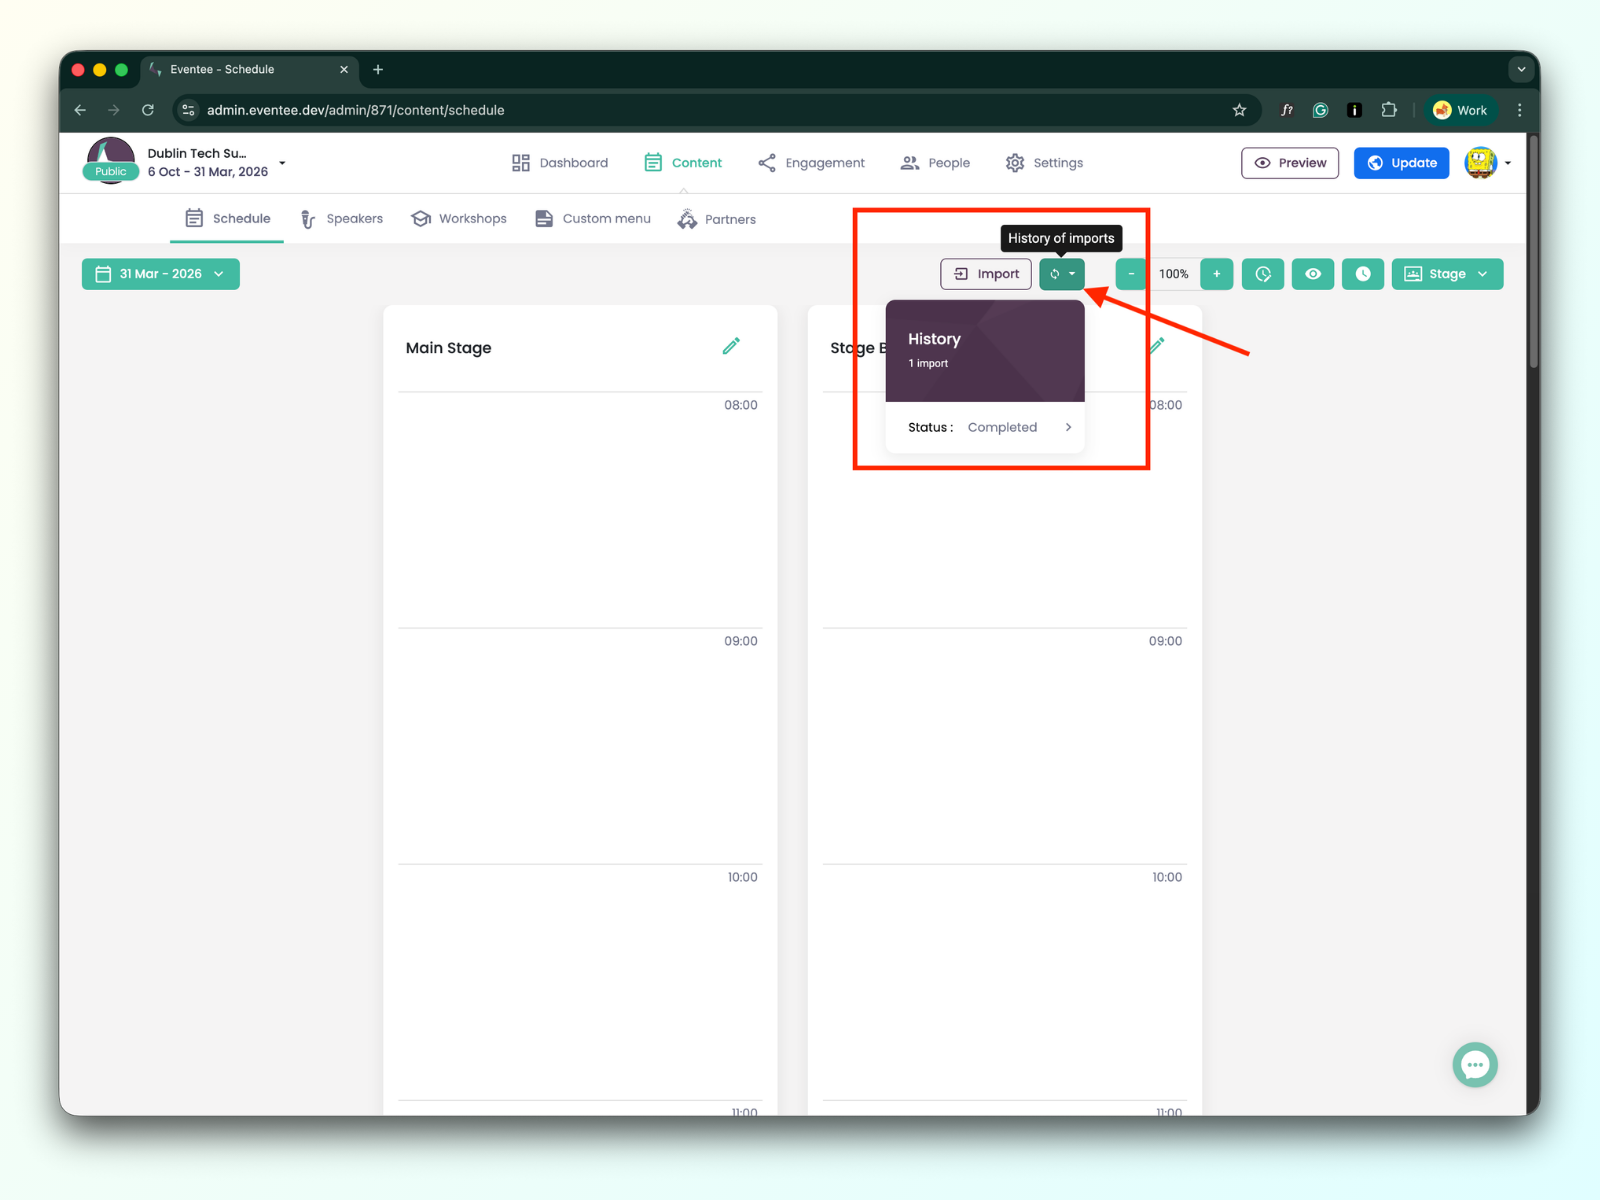
To add a schedule to Eventee, please head over to Content → Schedule tab. Here, you should see an Import button on the right side of the screen, next to the History of import button.
Before uploading, please ensure your file meets all requirements for a successful schedule import.
You can find the example file for schedule import here.
Name
Name of the session
Session type
There are three types of sessions: Workshop, Lecture, and Break.

Day
The day the session takes place. We recommend using the following date format: YYYY-MM-DD (for example, 2026-05-27) in your import file.
Time - From
The time the session starts. We recommend using the following time format: 09:00, 13:00.
Time - To
The time the session ends. We recommend using the following time format: 10:00, 14:00.
Stage
The name of the stage to which the session belongs.
Description
Description of the session.
Speakers
You can add one or more speakers to the session; speakers will be created automatically once the data has been successfully imported. Please use a comma to separate multiple values, for example: John Doe,Joe Black,Rachel Green
Tracks
You can add one or more tracks to the session; tracks will be created automatically once the data has been successfully imported. Please use a comma to separate multiple values, for example: Design,Frontend,Backend

Livestream URL
Meeting URL
If you are not sure what tools for live streaming and meetings we support, you can find details in the article: Supported streaming, video hosting, and online meeting tools
Live questions
If the value is 'Yes', Questions will be automatically enabled for the session. If the value is ‘No’, Questions will be automatically disabled for the session. You can check it after importing data when you navigate to the Engagement → Questions&Polls tab.
Auto approval
If the value is 'Yes', questions will be automatically approved for the session. If the value is ‘No’, questions won’t be automatically approved for the session (have to be approved manually by the moderator during the event). You can check it after importing data when you navigate to the Engagement → Questions&Polls → and click on the particular session detail.
Live polling
If the value is 'Yes', Polls will be automatically enabled for the session. If the value is ‘No’, Polls will be automatically disabled for the session. You can check it after importing it when you navigate to the Engagement → Questions&Polls tab.
Capacity
For workshops, you can set the exact capacity and let your attendees book their place in the app.
Check-in
If your plan includes the check-in feature and you'll be using session check-in, you can also include information in your data import about which sessions will have check-in enabled. More about session check-in.
Now that you know where to start and what data could be uploaded, let's talk about how to upload and map the file attributes to correctly link the data fields.
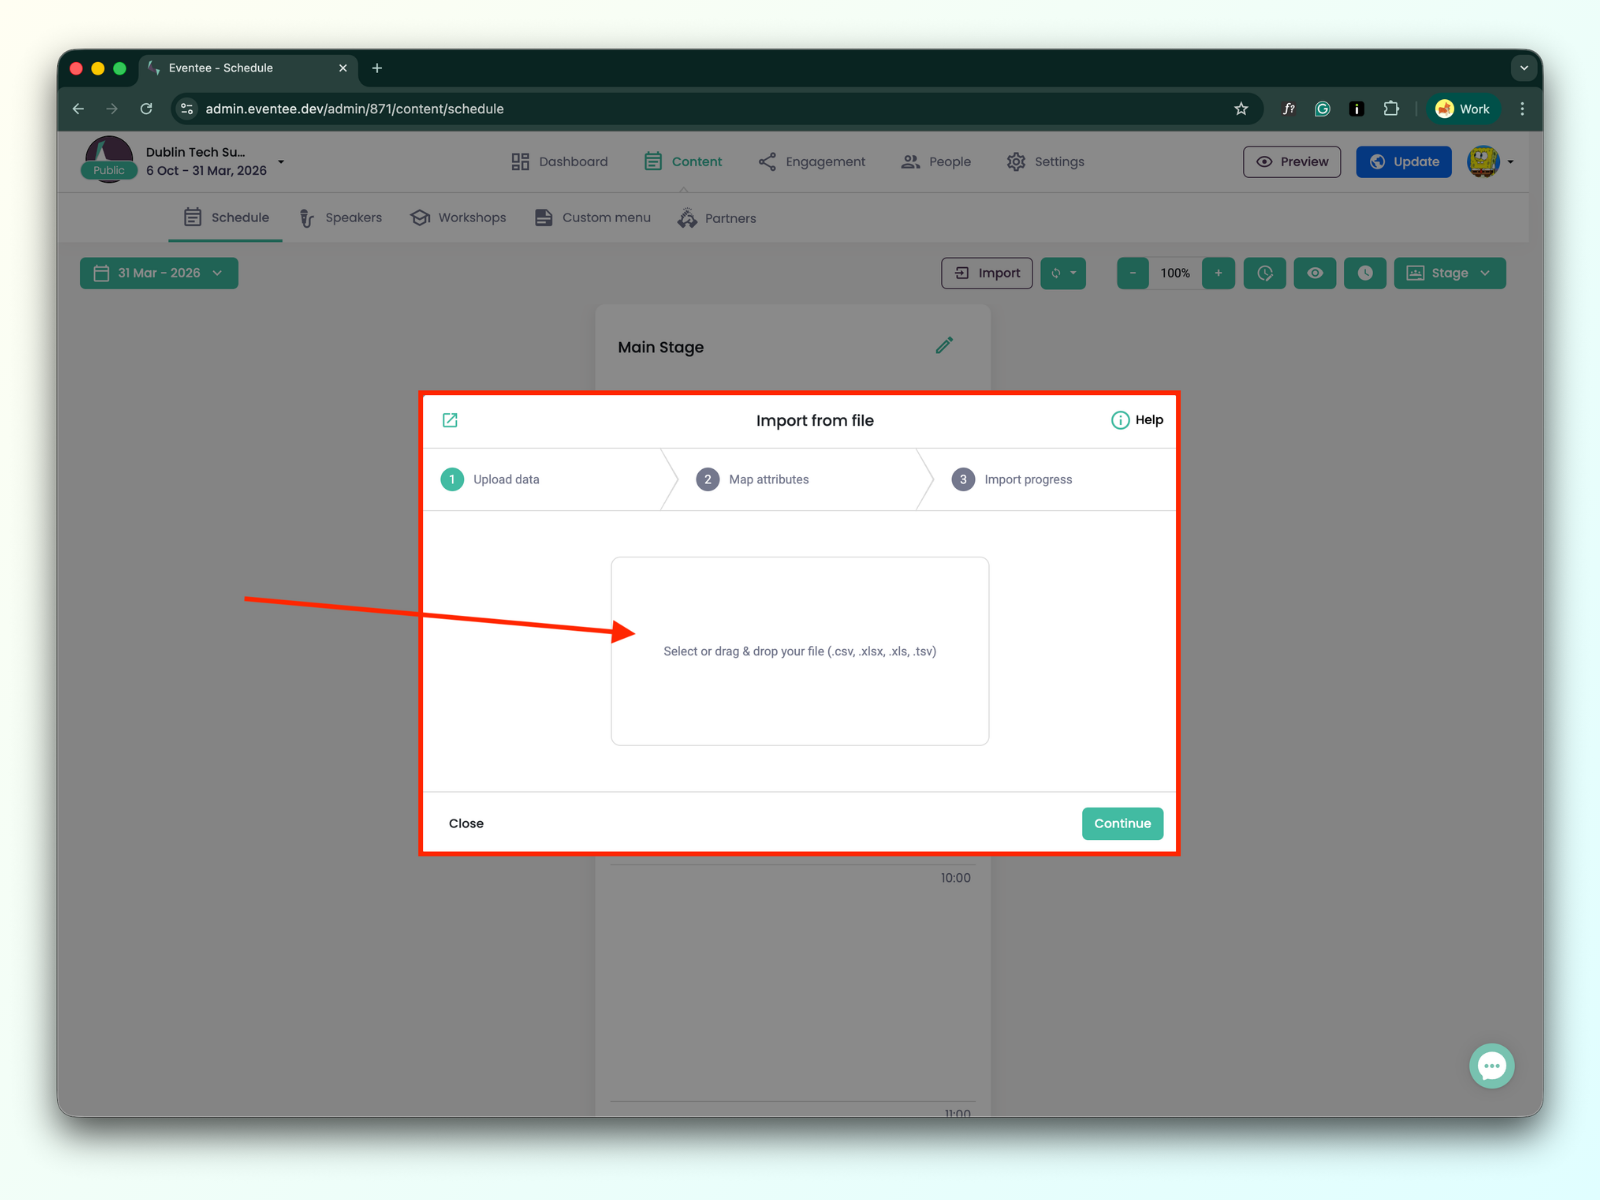
1A. The first step in the import dialog is to upload your file with schedule information. We support .xls, .xlsx, .csv, and .tsv.
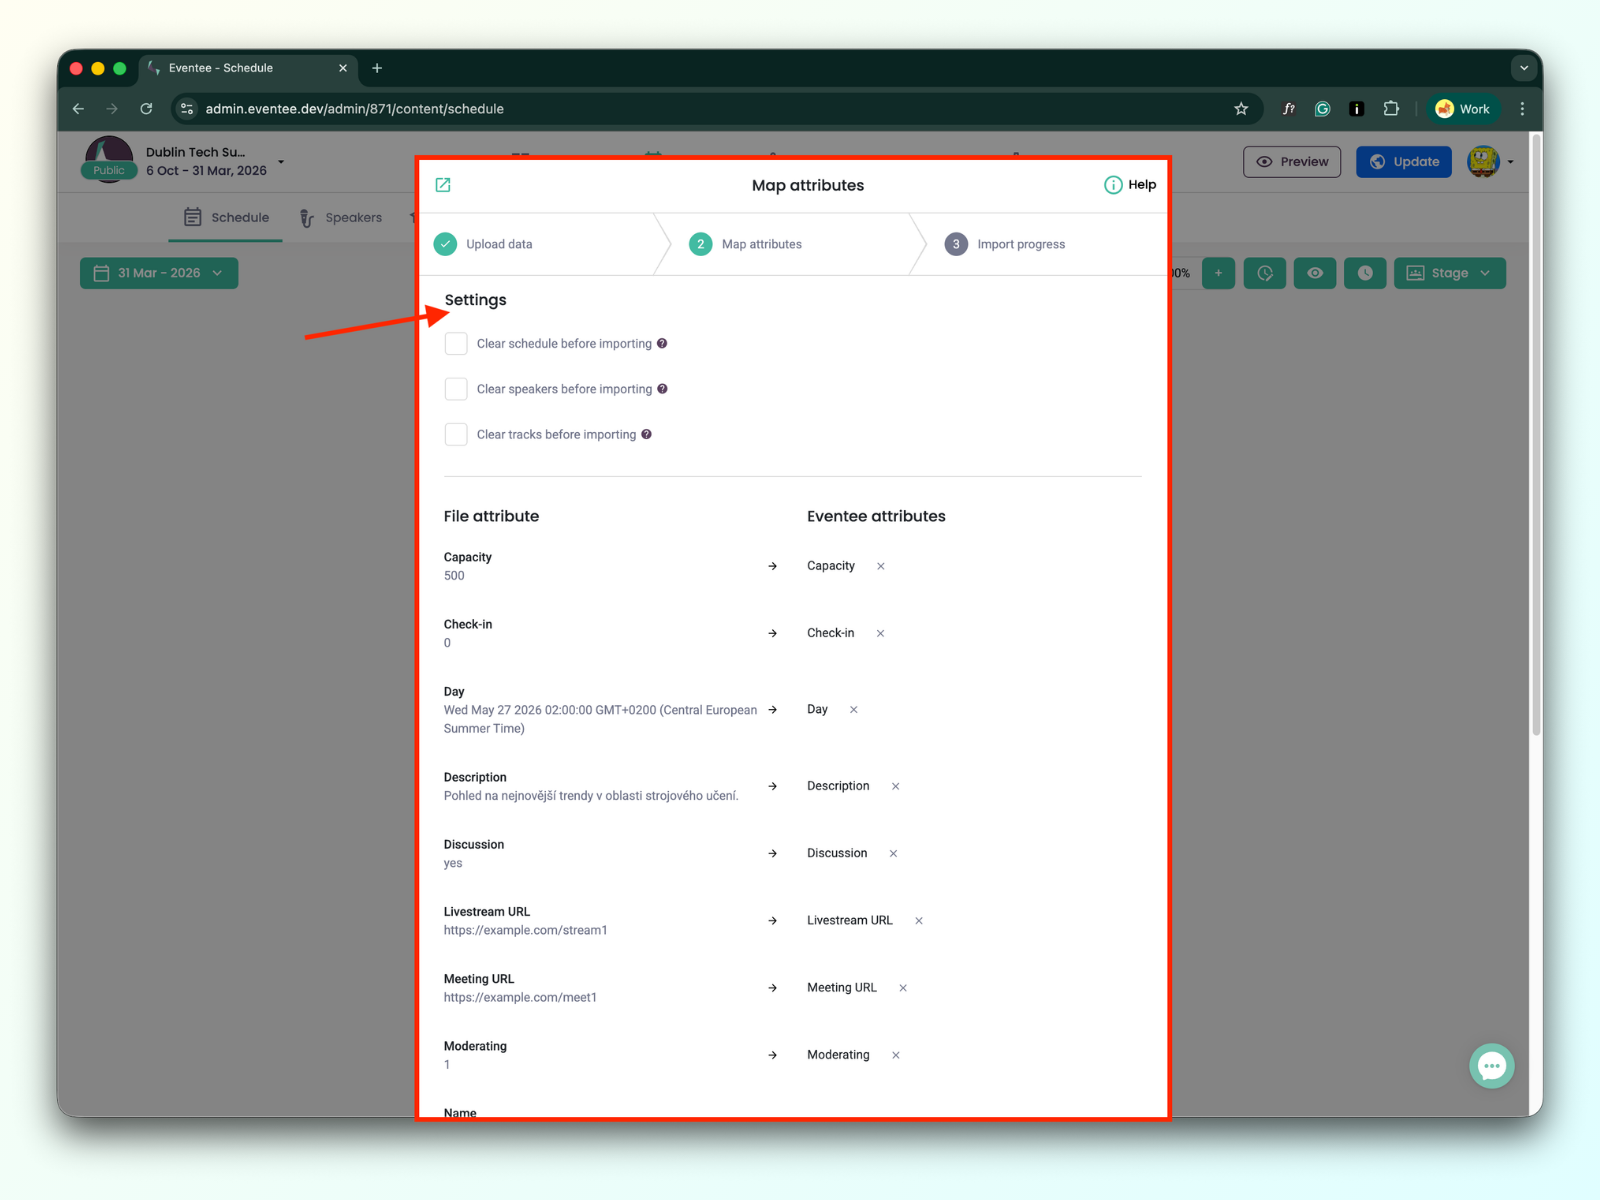
1B. Once your file is uploaded, hit Continue to proceed to the next screen, where you'll map values from your file to Eventee attributes. For every column of your file, select a corresponding value from the Eventee list.
Here, you can set additional options:
Clear a schedule before importing
When the option is checked, it removes all lectures, workshops, and breaks from all days before importing new ones.
Clear speakers before importing
When the option is checked, it removes all speakers from the event before importing new ones.
Clear tracks before importing
When the option is checked, it removes all tracks from the event before importing new ones.
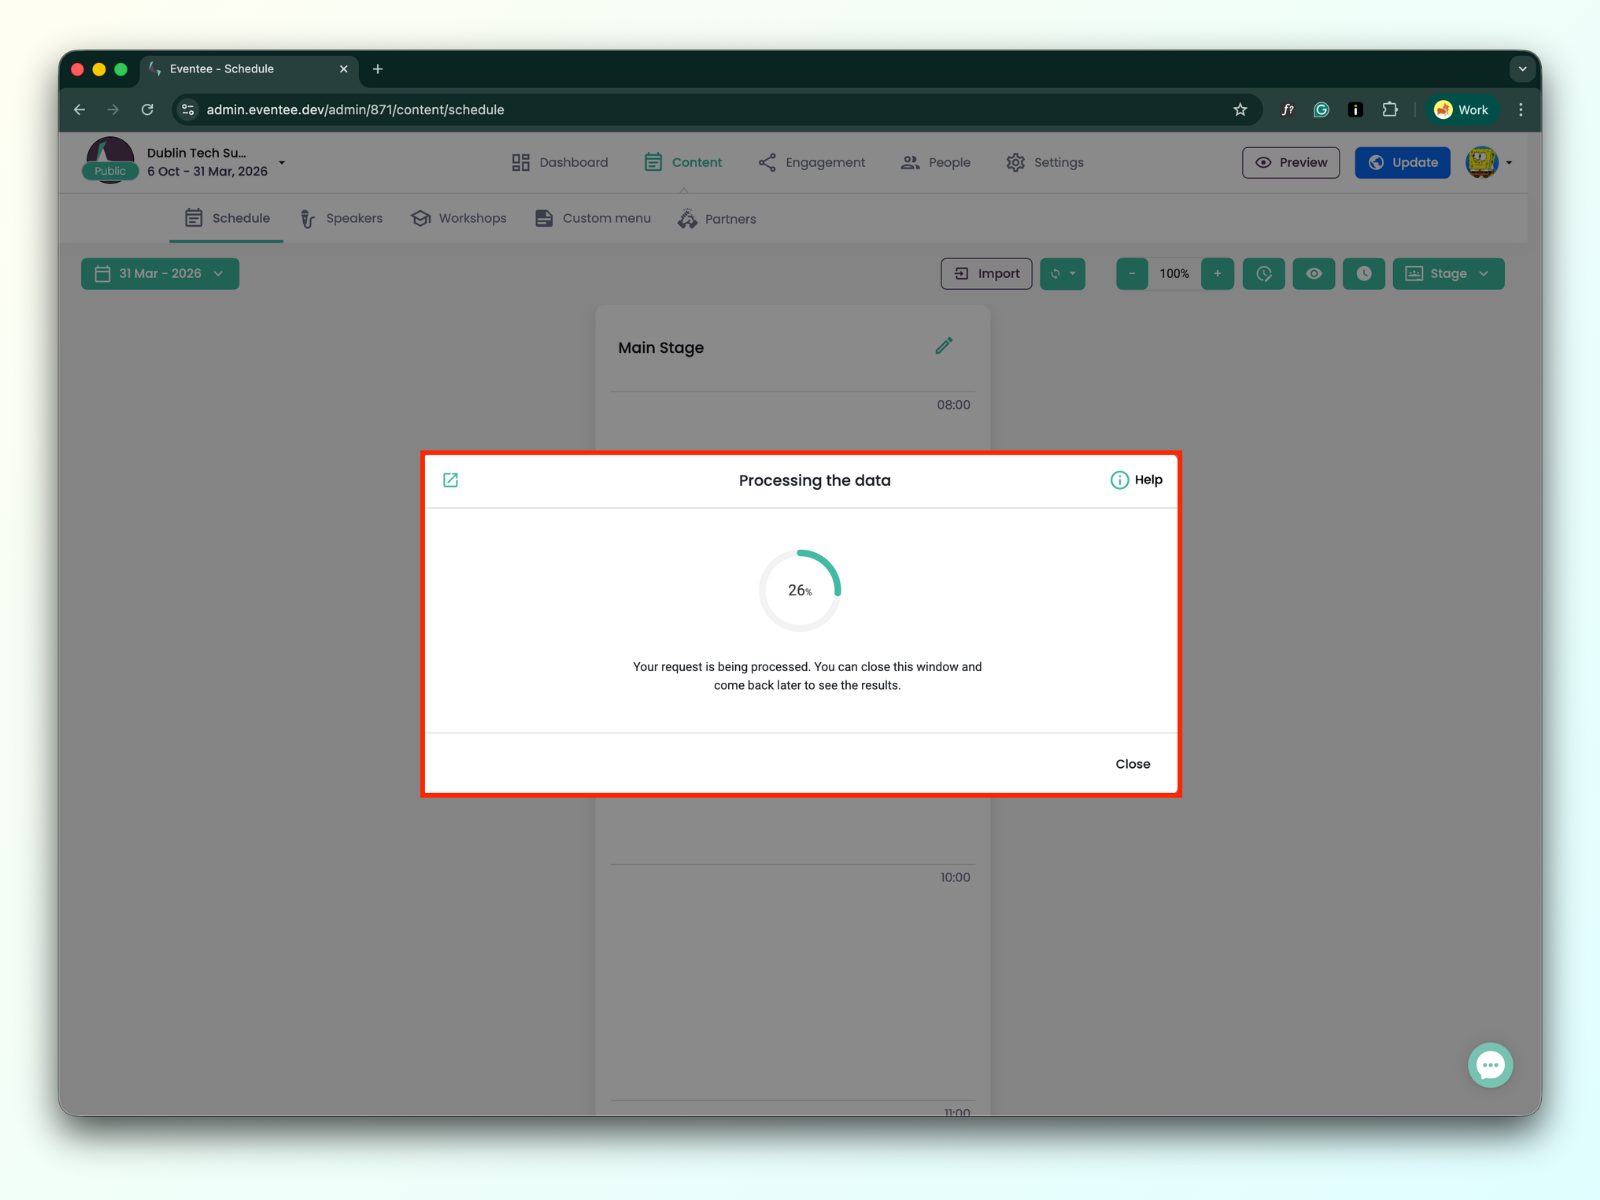
1C. Click Continue to let Eventee process your data. You can close this screen at any time and check on progress later if needed. All done, good job!
1D. You can check on the progress at any time through the History button.
INVALID_TYPE
The session type is incorrect. This is usually caused by a typo or using a name that is not supported. Examples: "Worshops" instead of "Workshop", or using "Discussion" when it's not a valid type.
END_BEFORE_START
The session's end time is set earlier than its start time. Example: Start: 14:00, End: 13:00.
The type field is required
A required field (such as "Session Type") is missing on this line. Every row must have all mandatory information filled in.
HALL_REQUIRED
Missing stage name in this row.
SKIPPED:
EMPTY_ROW
The system detected an empty row in the import file and skipped it.
DATE_IN_THE_PAST
The session start date is set in the past. All sessions must be scheduled for future dates.
Which should I do first, the speaker import or the agenda import?
It is better to import speakers first, as you can include all their details in the initial import, and then import the schedule. When preparing the schedule import, just make sure that the speaker names assigned to each session exactly match the names of the speakers you already imported.