Our Label Editor is a specialized tool for creating and printing event badge labels. You can easily include the attendee name, the attendee’s QR code, event logo, and much more on every label.
The starting point for creating your first label is in: Settings → Features → Check-in → Manage label

Clicking on the green “Manage label” button opens a pop-up window with Label settings.
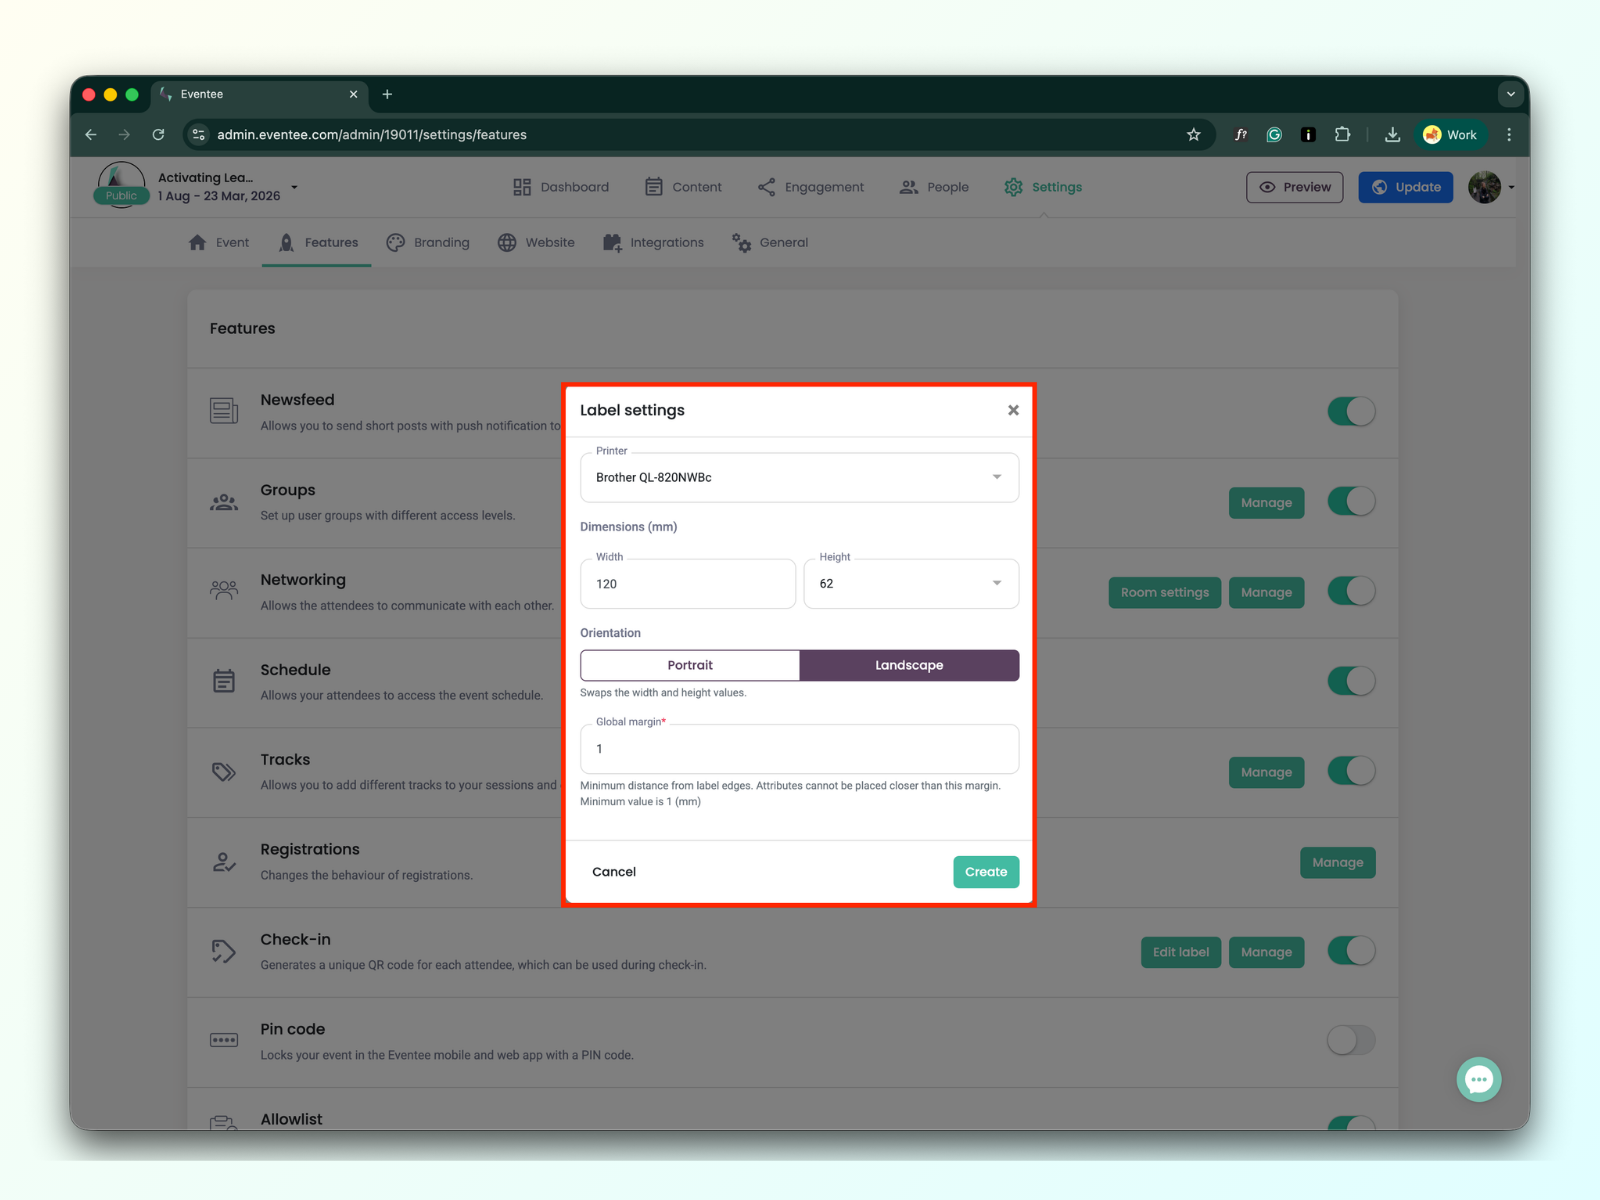
You have two options regarding printers:
Brother QL-820NWBc printer
We recommend the printer because it is supported and has been tested.
Custom printer
Other Brother QL-xxxx series label printers may work, but we haven’t tested them yet, so compatibility isn’t guaranteed.


You can set up the width and height of the label.
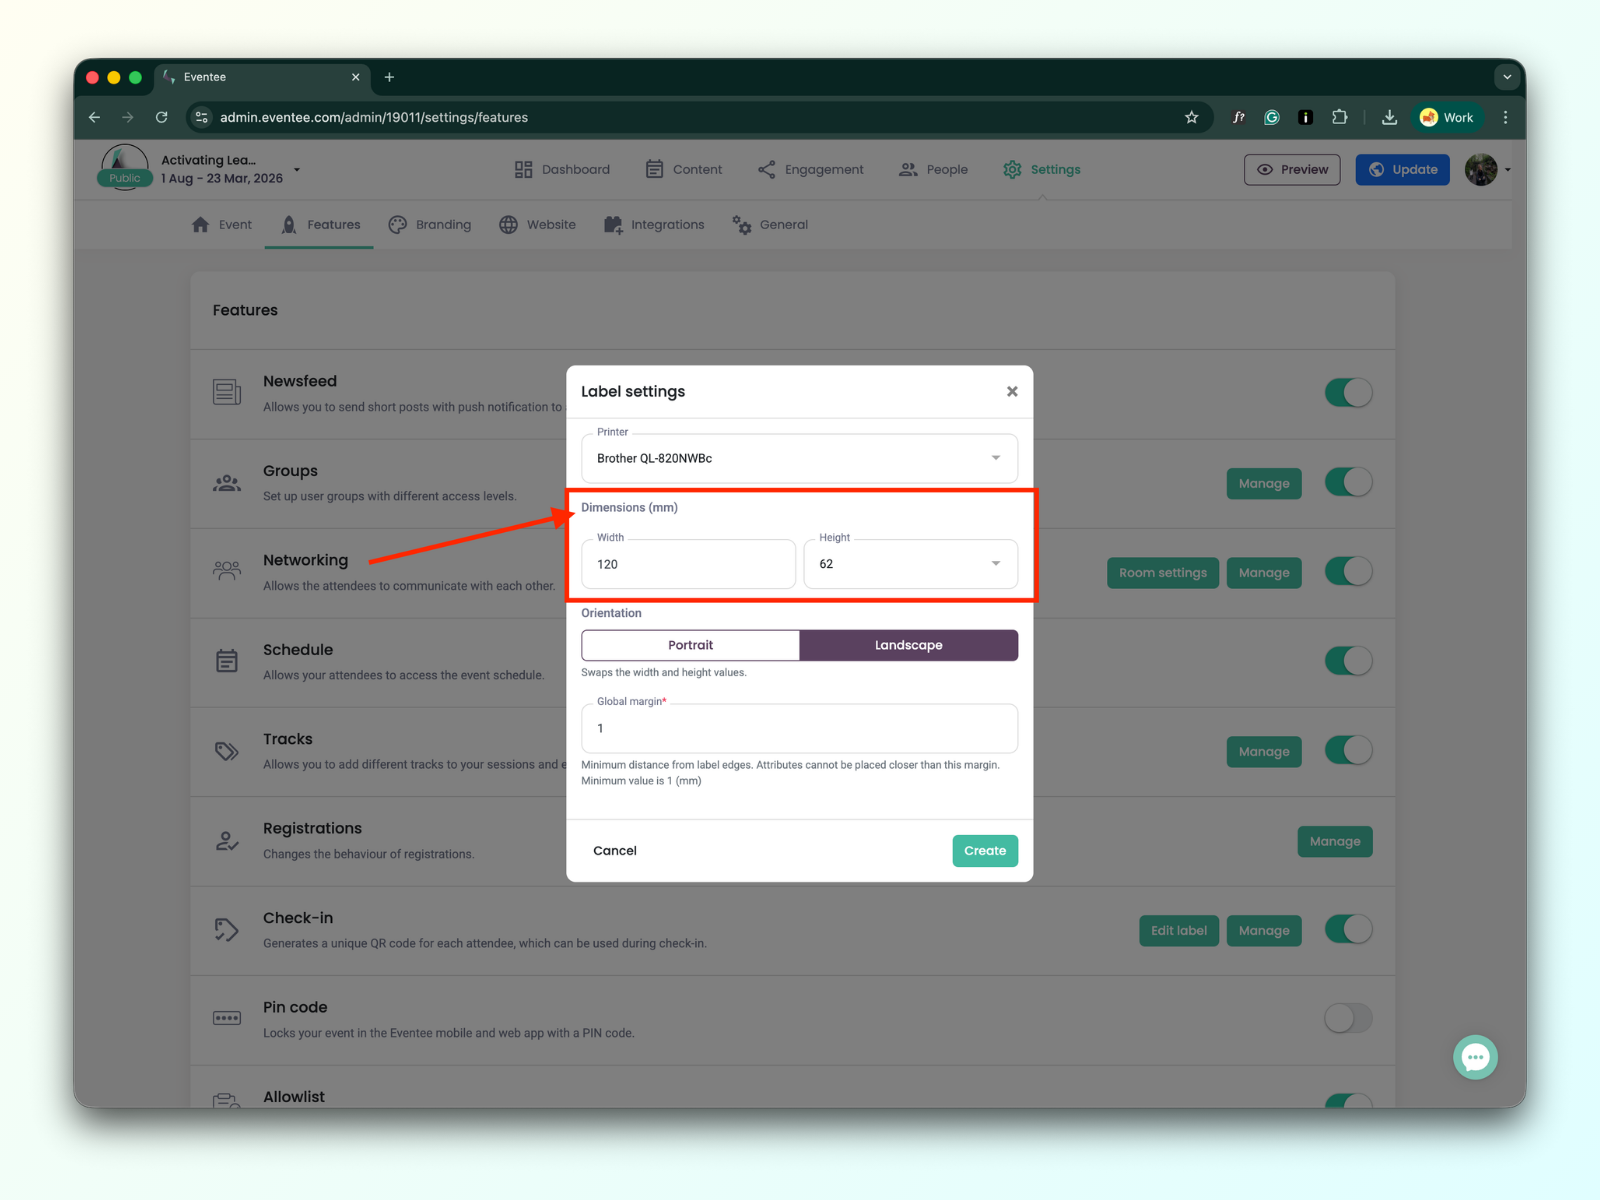
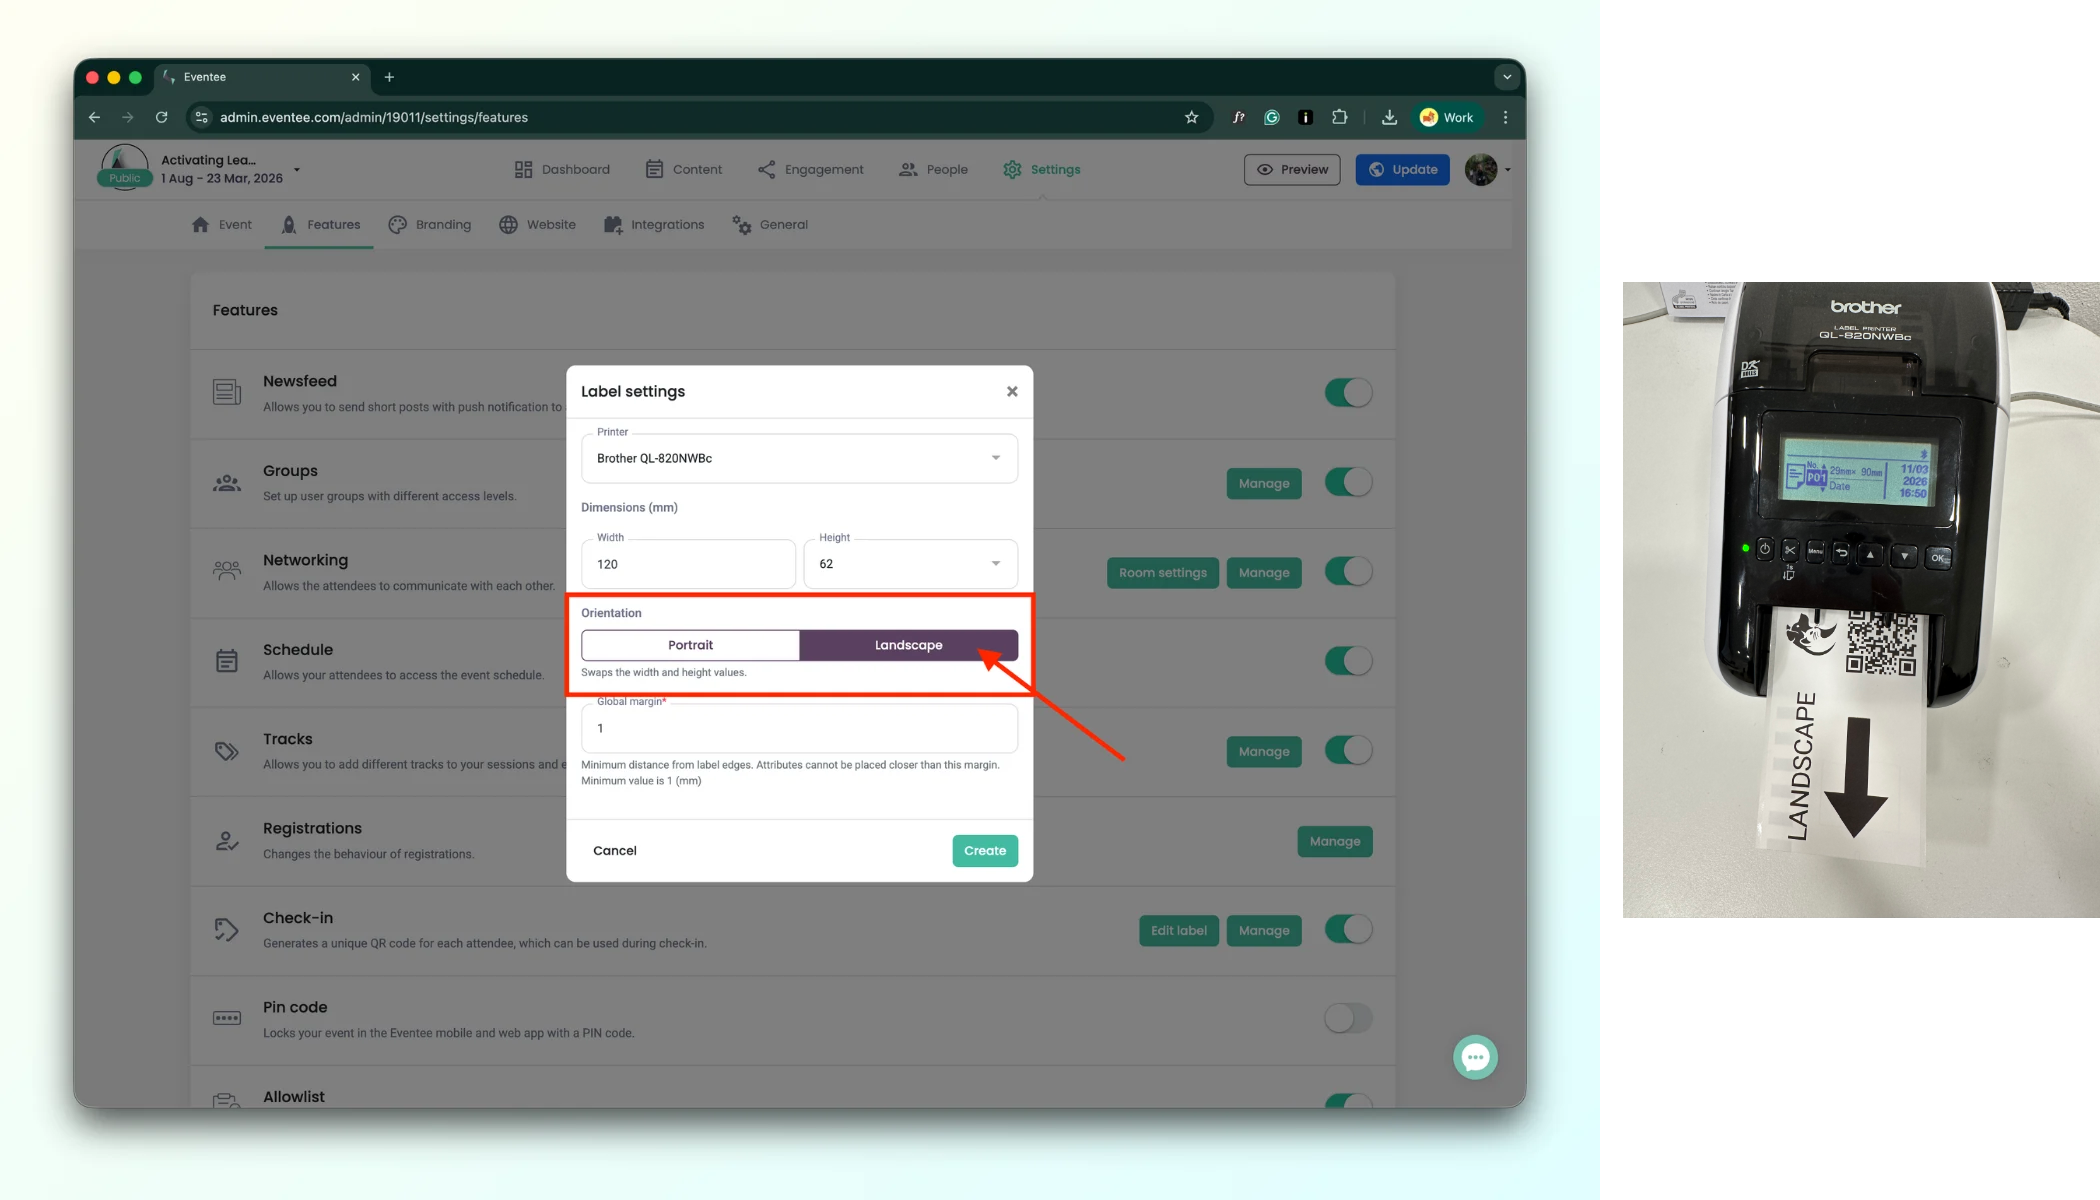
When designing a badge label, you can choose between Portrait and Landscape mode. This setting controls how the label is oriented when it comes out of the printer.
a. Portrait - The label is printed in the normal reading direction. When it comes out of the printer, you can read the text directly without turning the label.
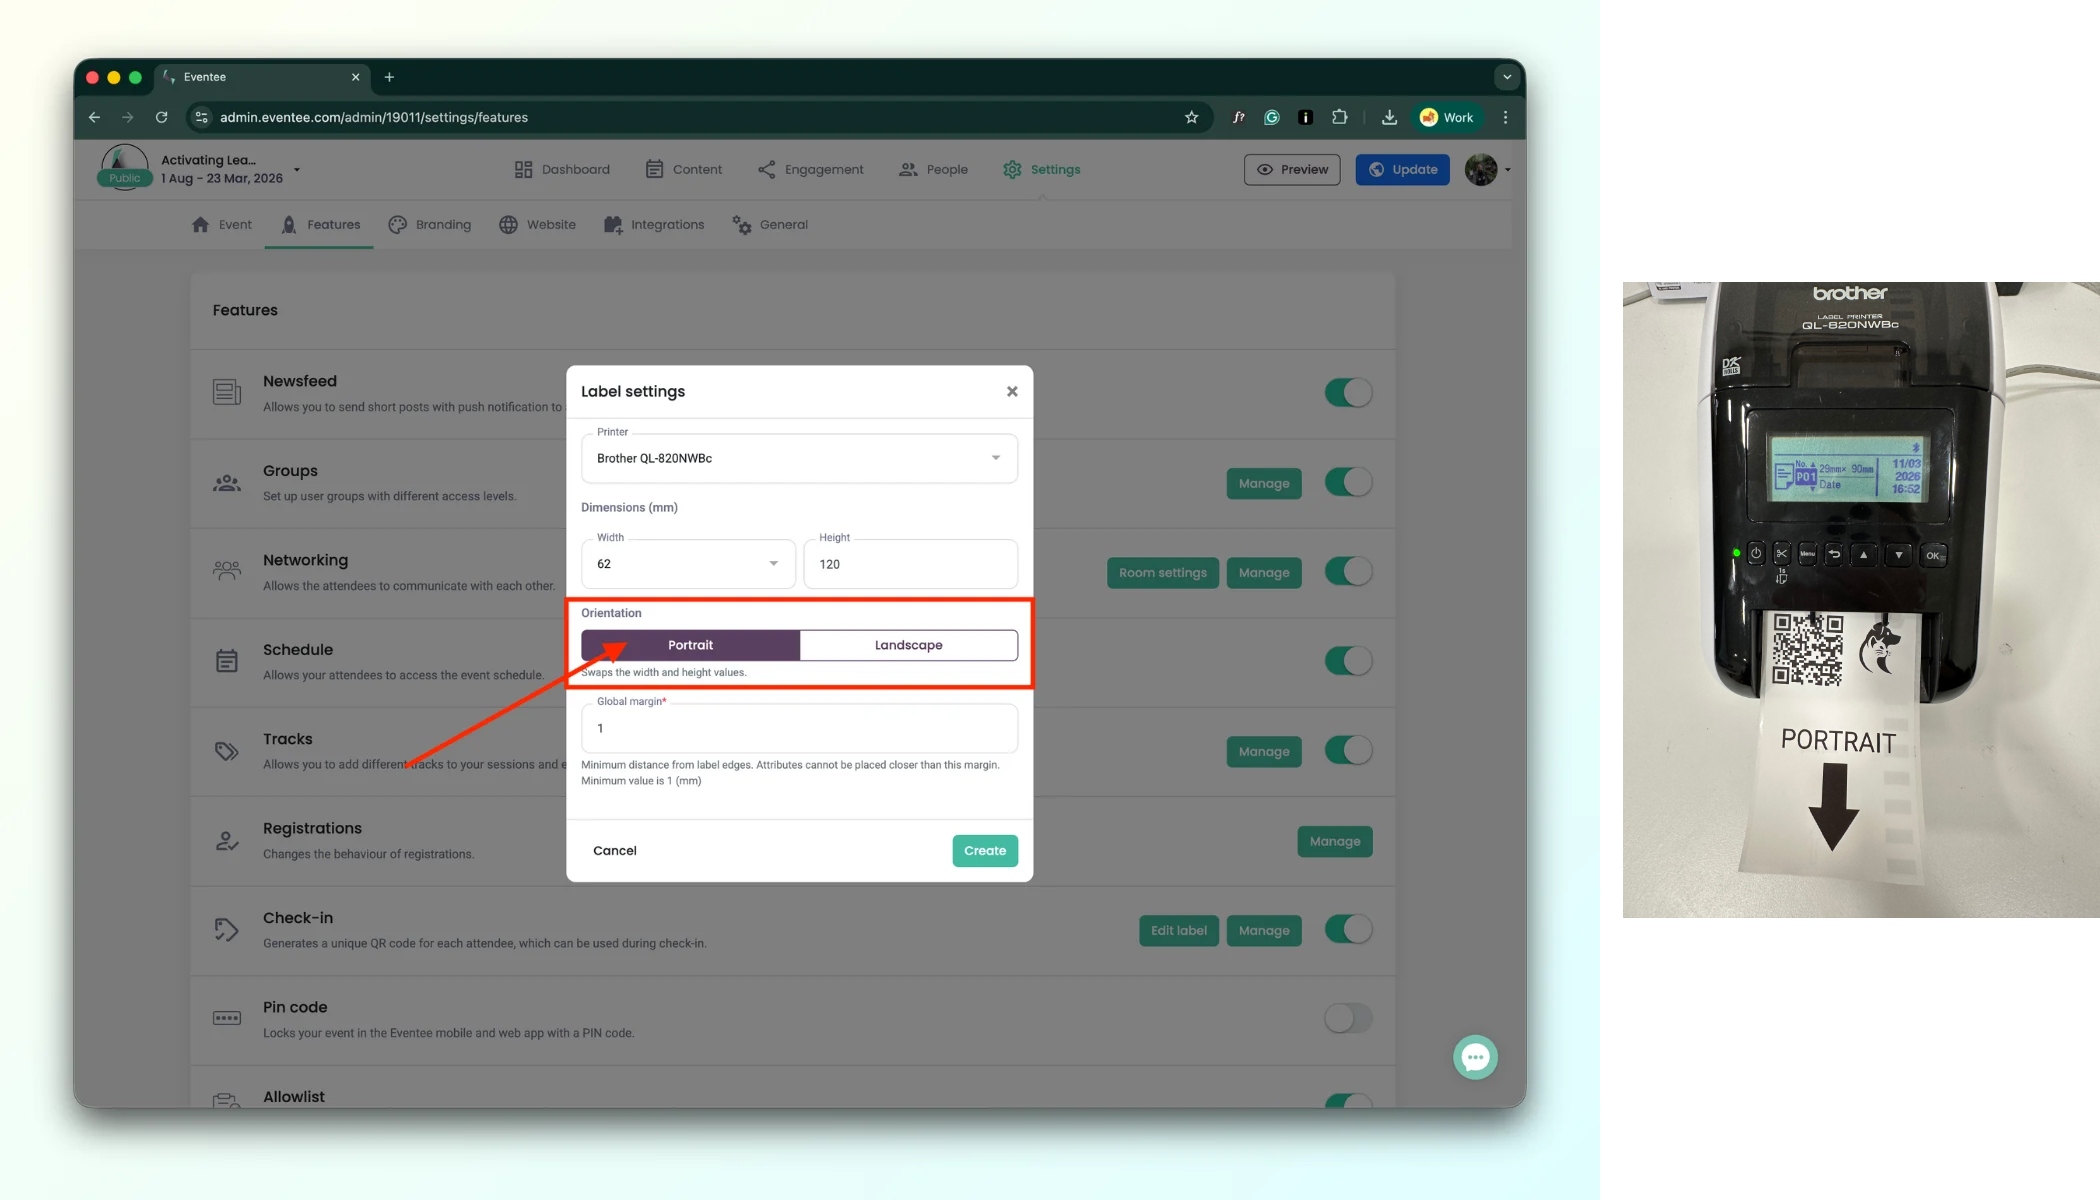
b. Landscape - The label is printed rotated by 90°. When it comes out of the printer, you need to turn the label sideways to read it correctly.
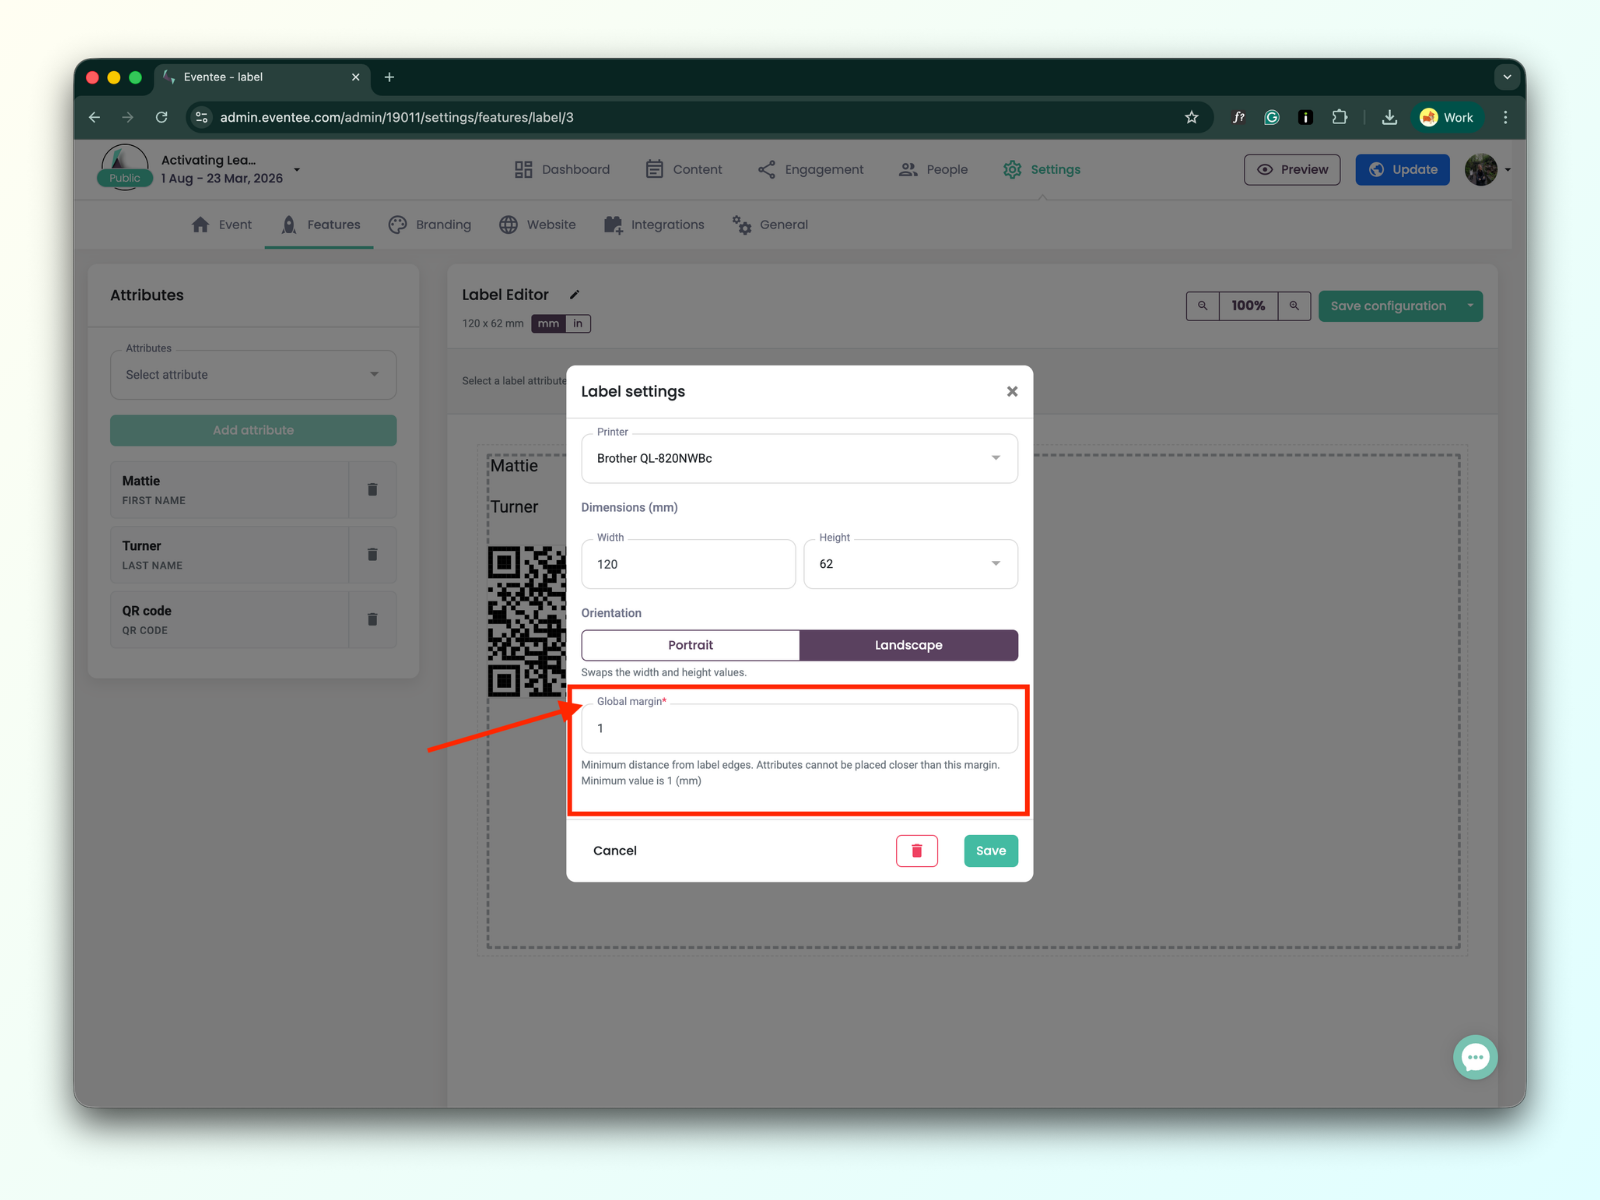
Minimum distance from label edges. Elements cannot be placed closer than this margin. Minimum value is 1 (mm).
Clicking on the “Create” button redirects you to the Label editor page.
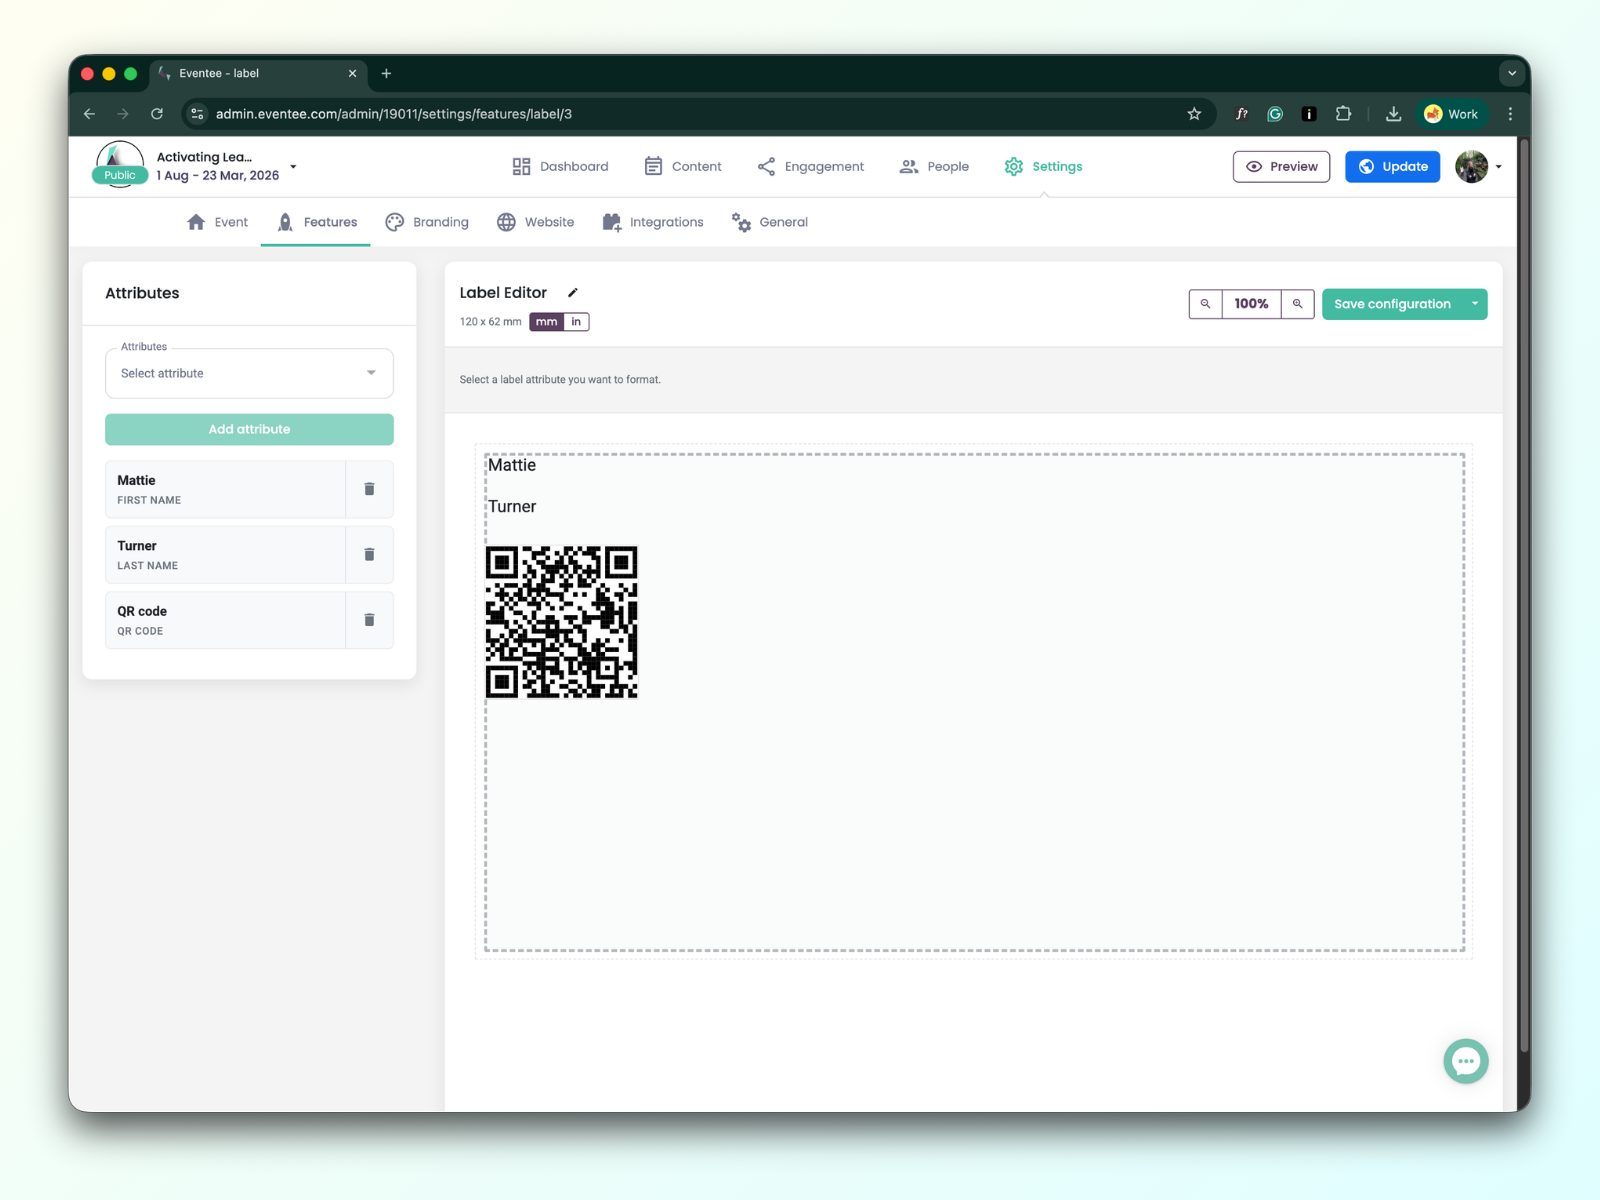
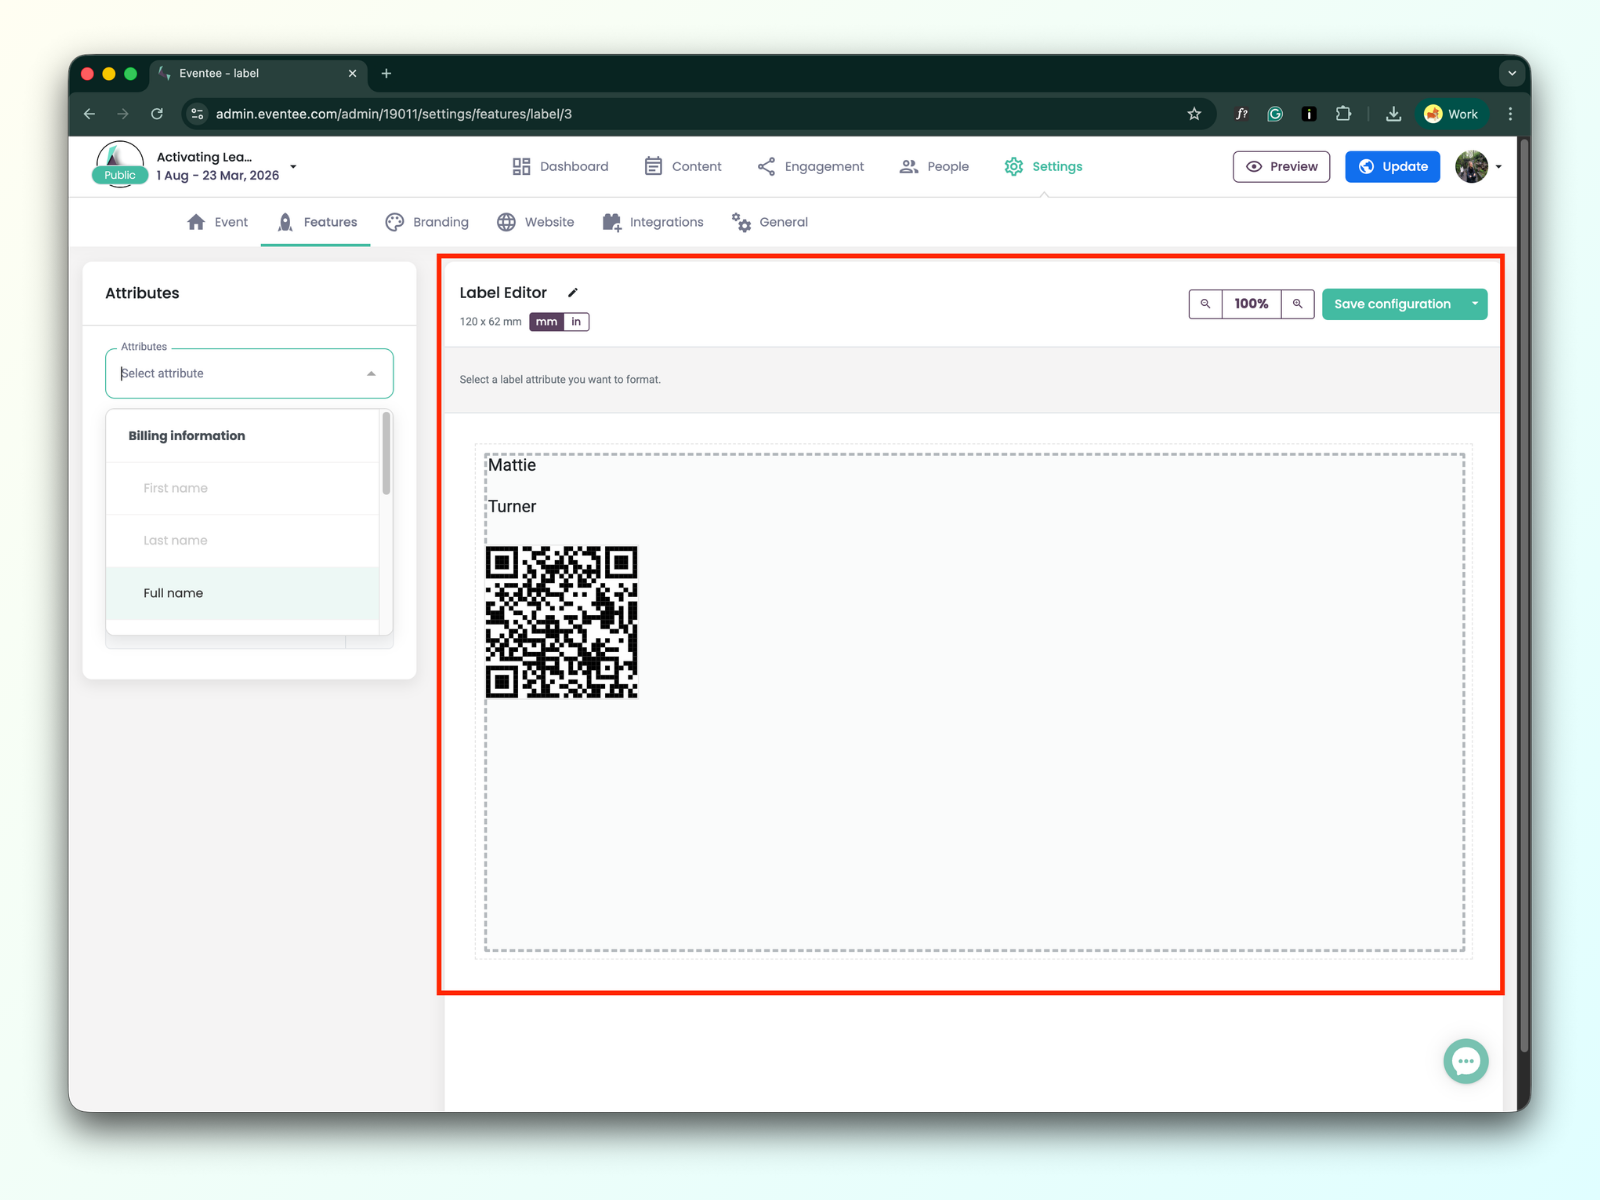
You can notice that some attributes are added in a label editor as a default by the system, such as the first name, last name, and QR code. It is added just as an example; you can remove or edit the default attributes.
The label editor interface consists of two main sections:
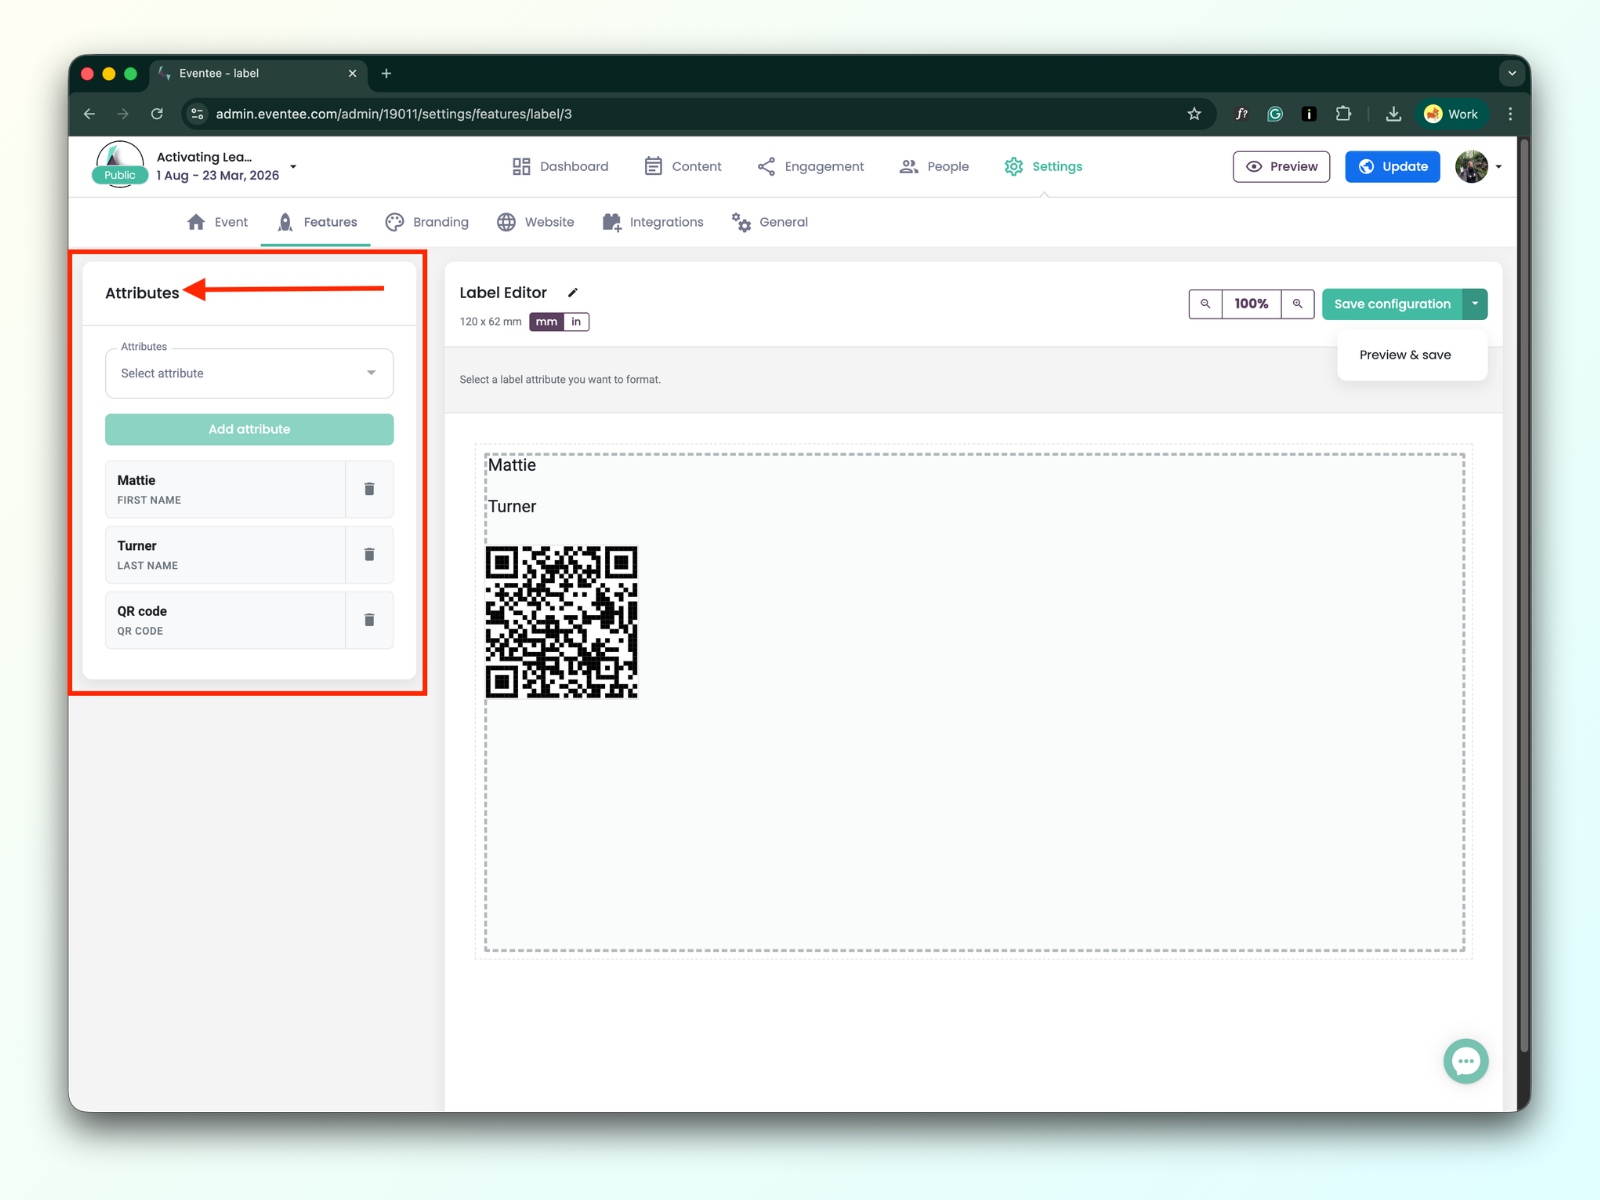
Left sidebar: Contains the available attributes you can add to your design.
Label editor: The area on the right where you can arrange and edit your added attributes.
Attributes that you can use for your label are divided into two groups:
Billing data
First name
Last name
Full name
Position
Company name
Telephone
Other
QR code
QR code is unique per attendee
Custom text
can be added more than once
Image
can be added more than once
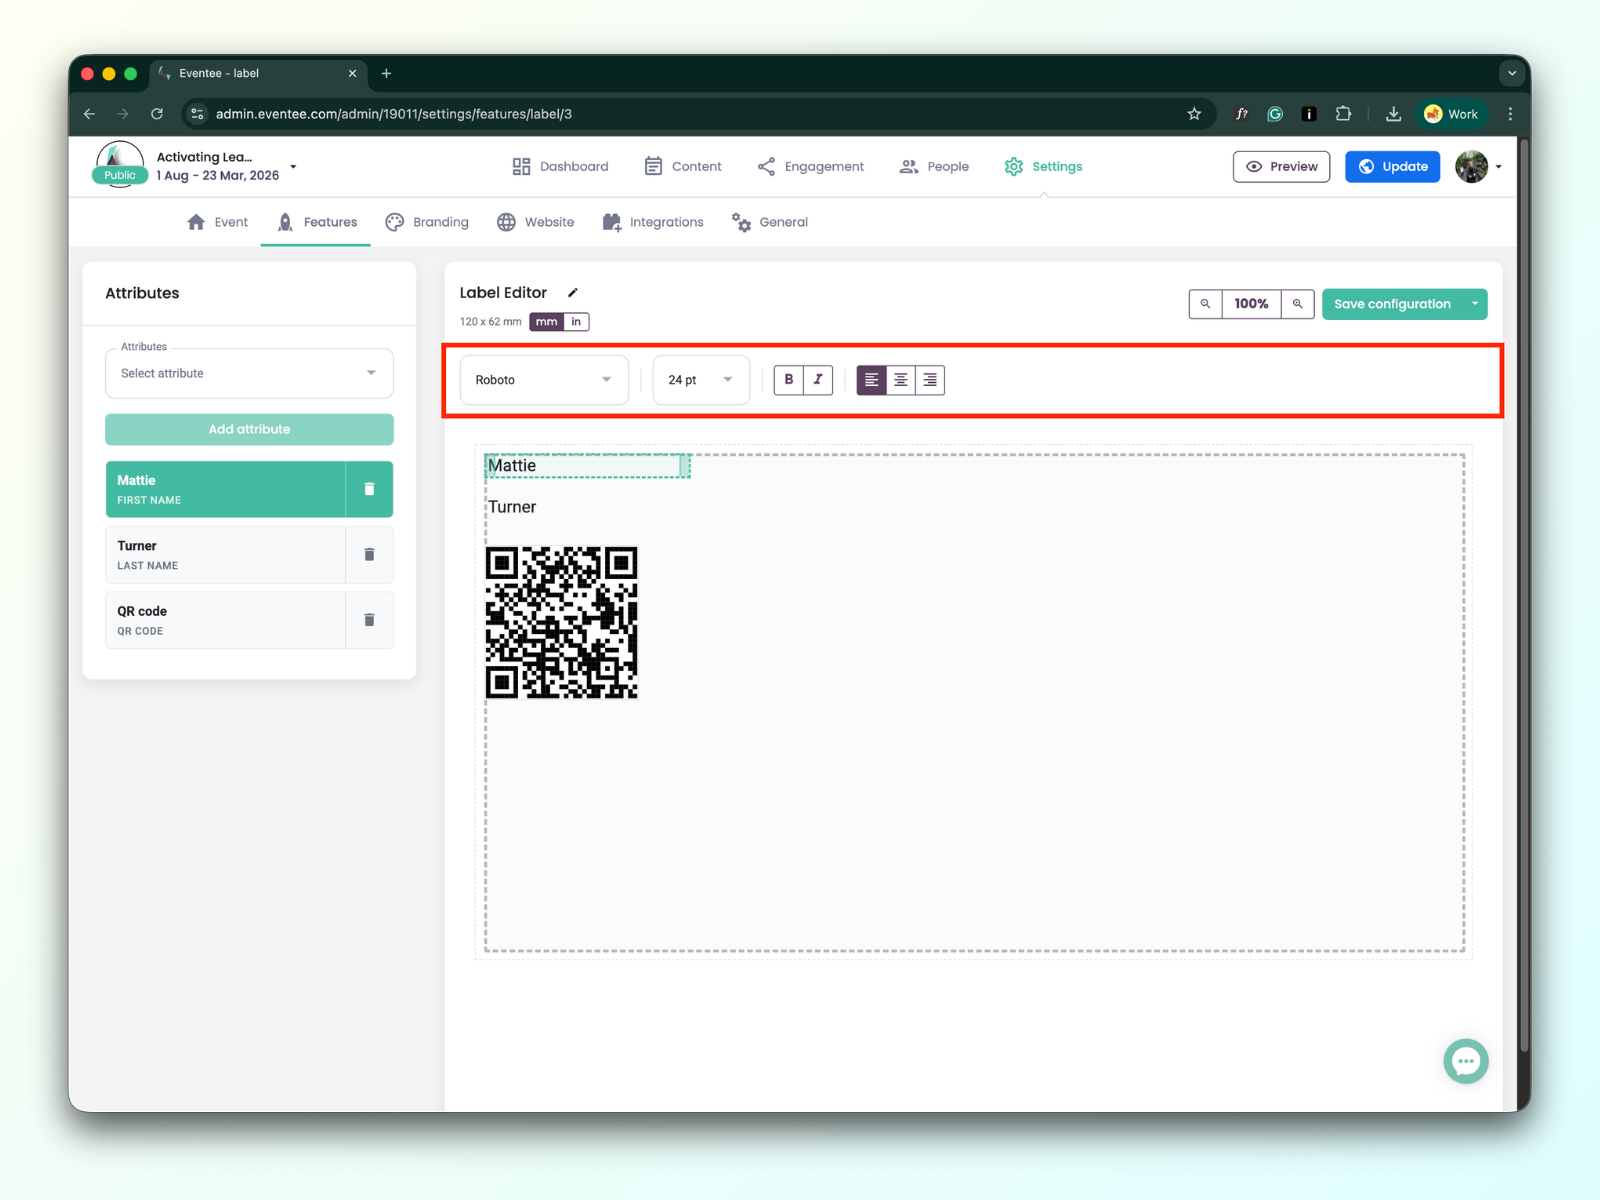
Label editor tools
Within the tools, you can find:
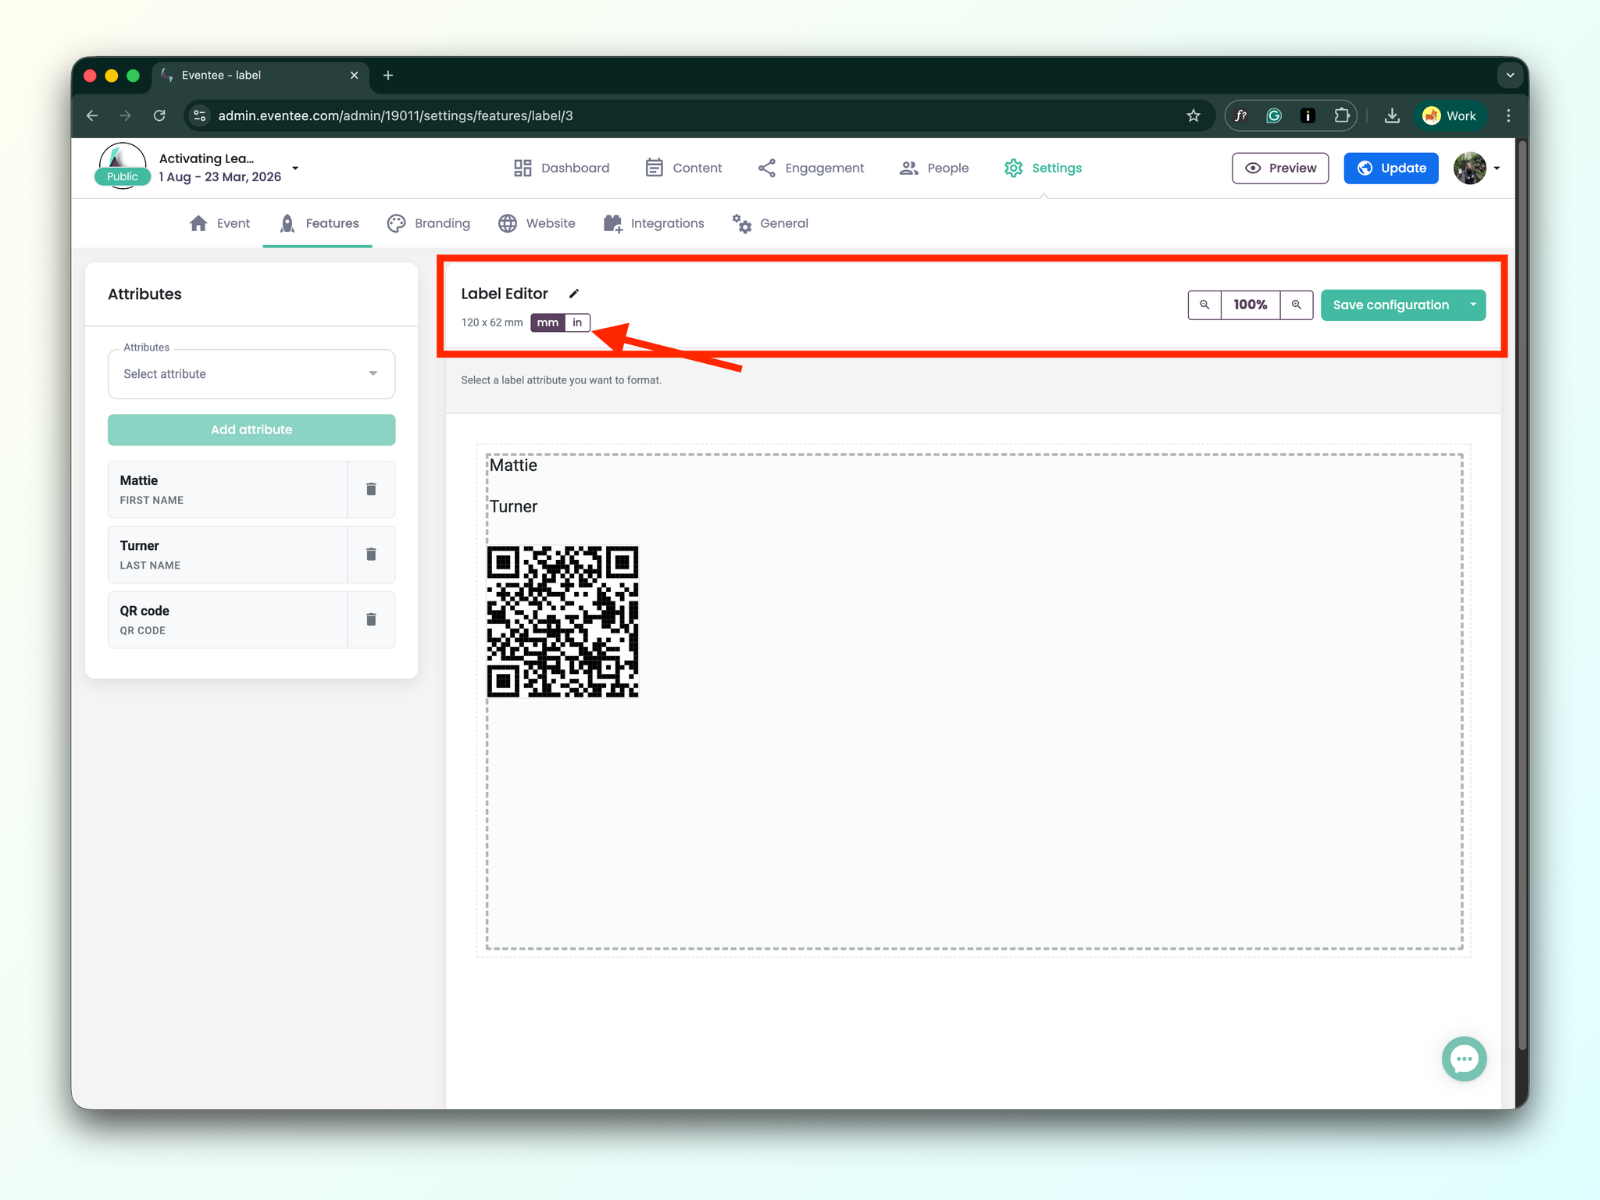
pen icon button for editing the label editor settings
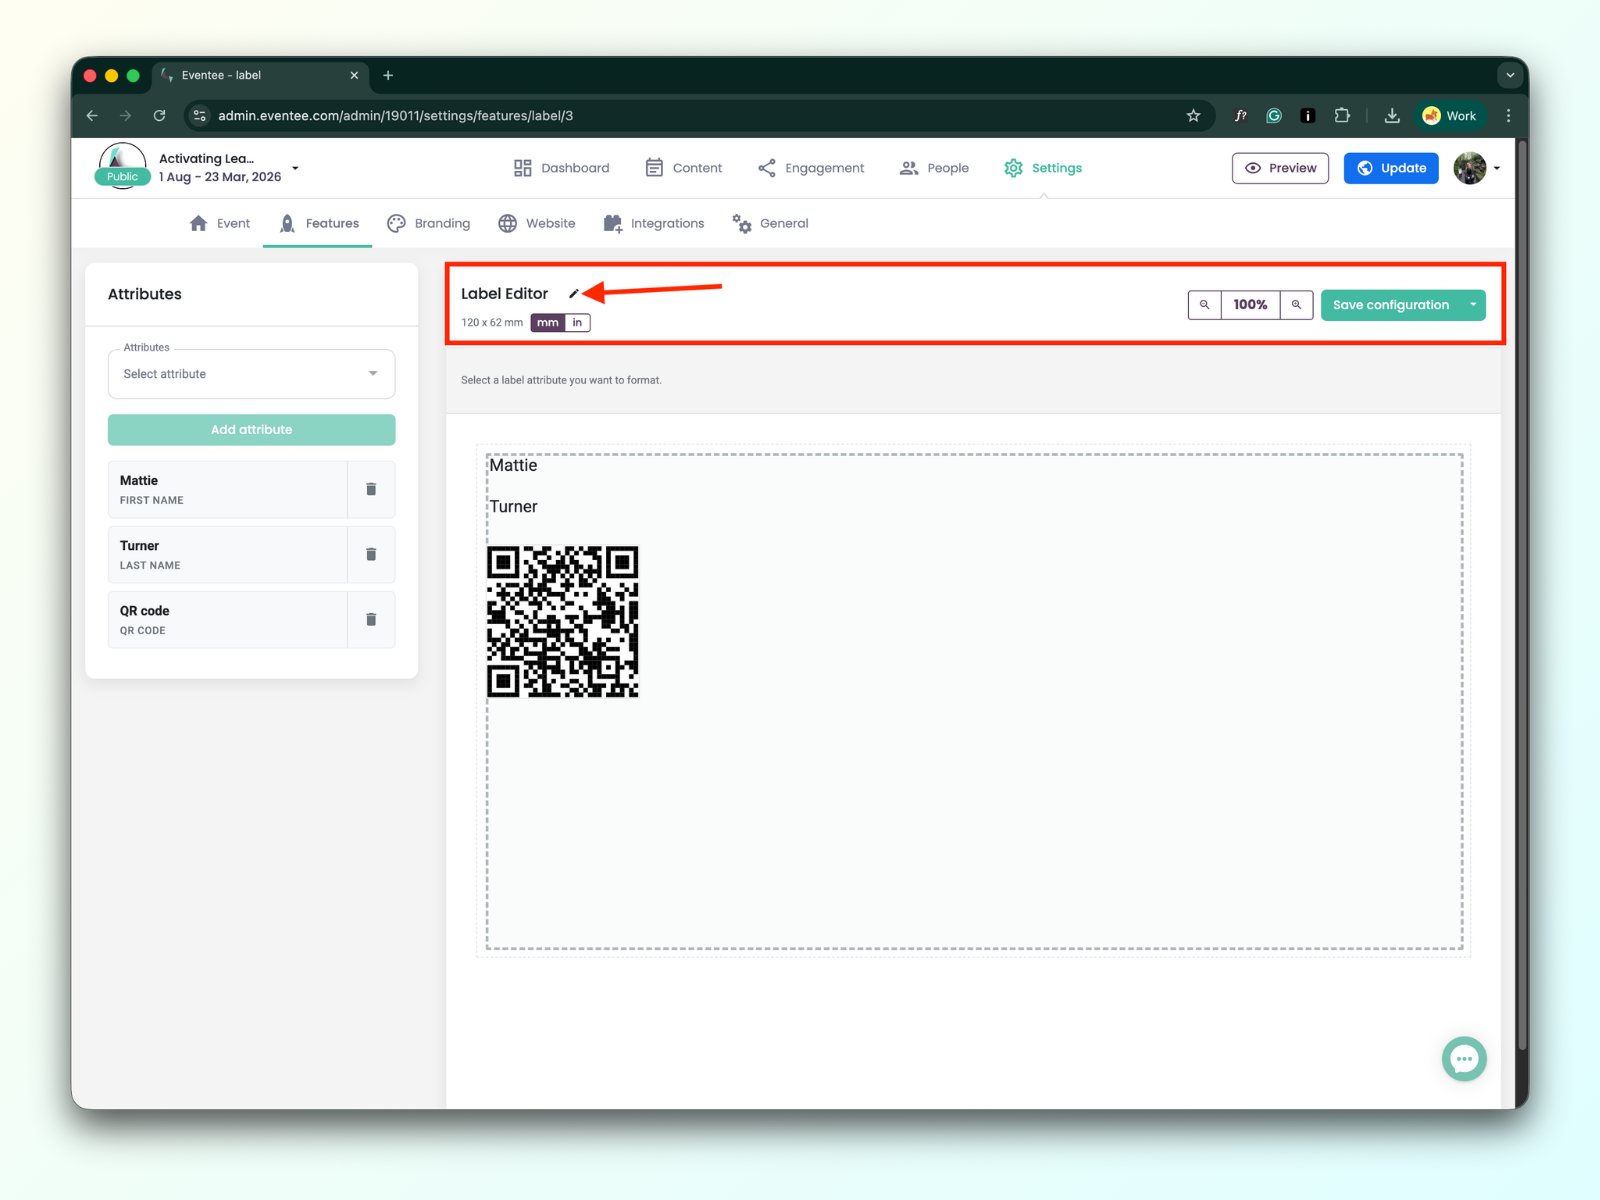
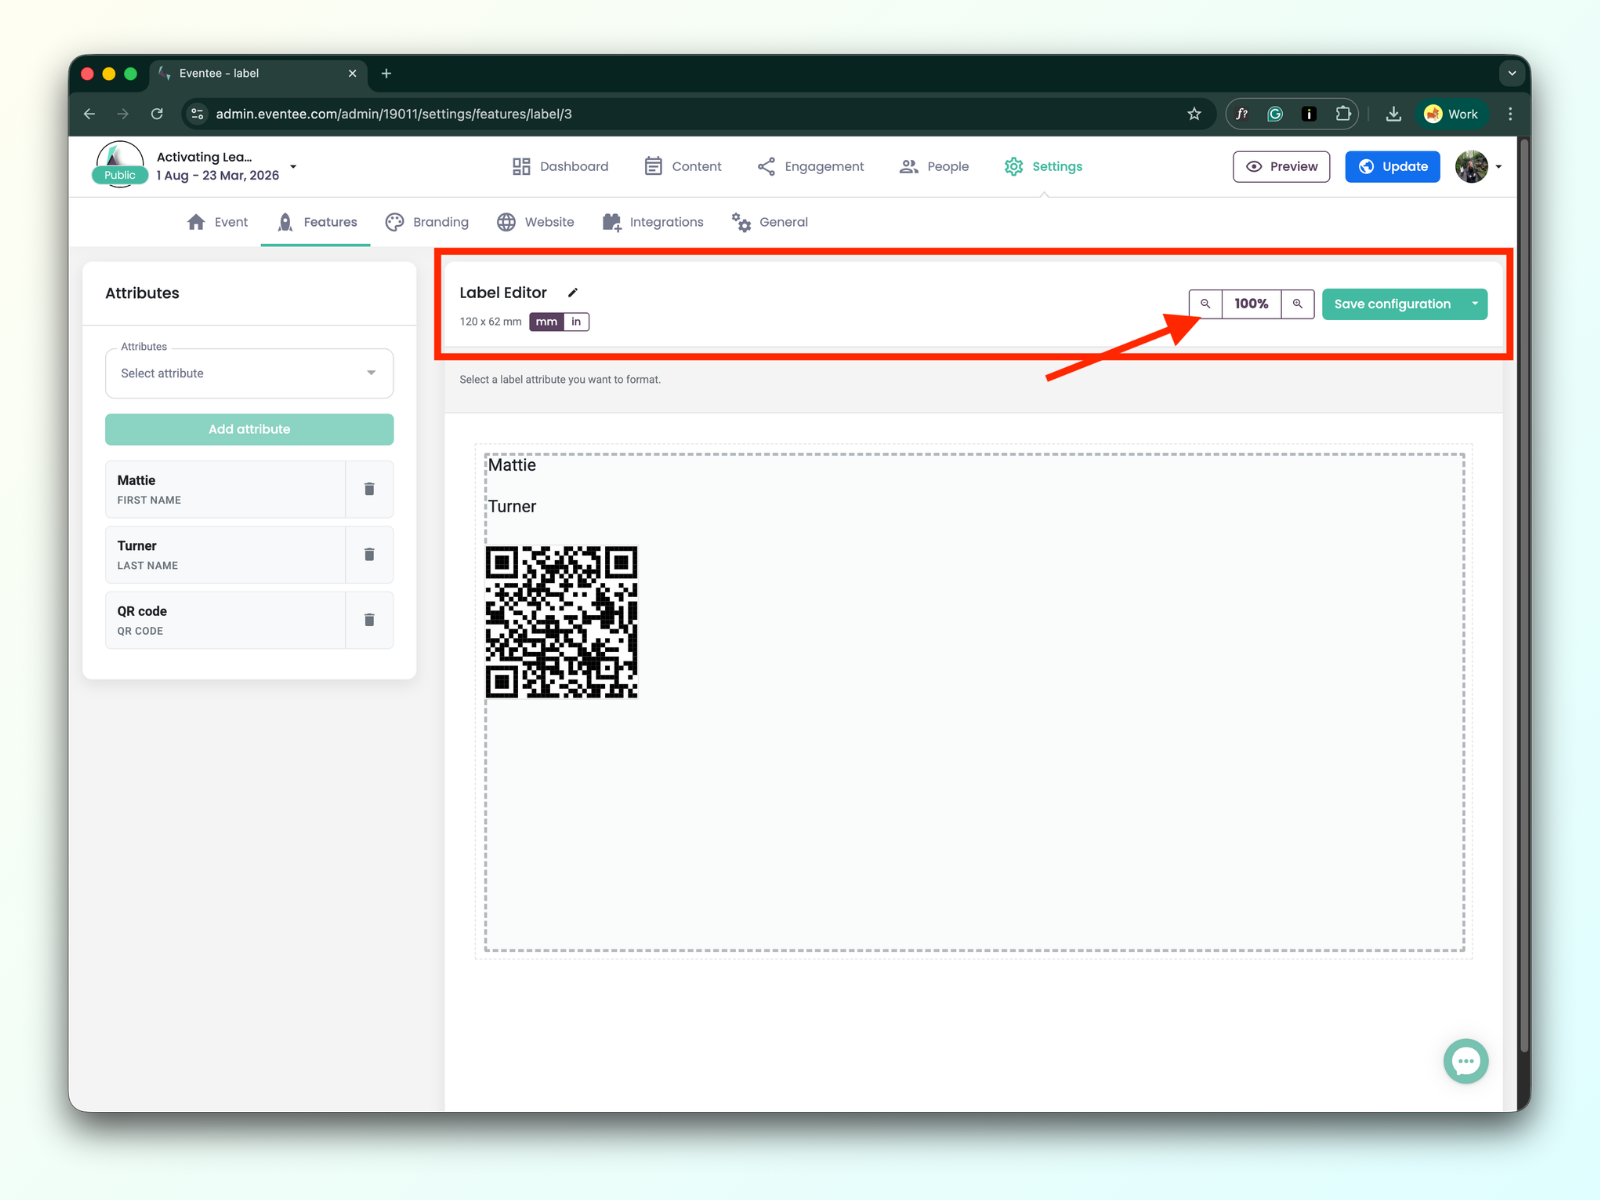
Zooming option
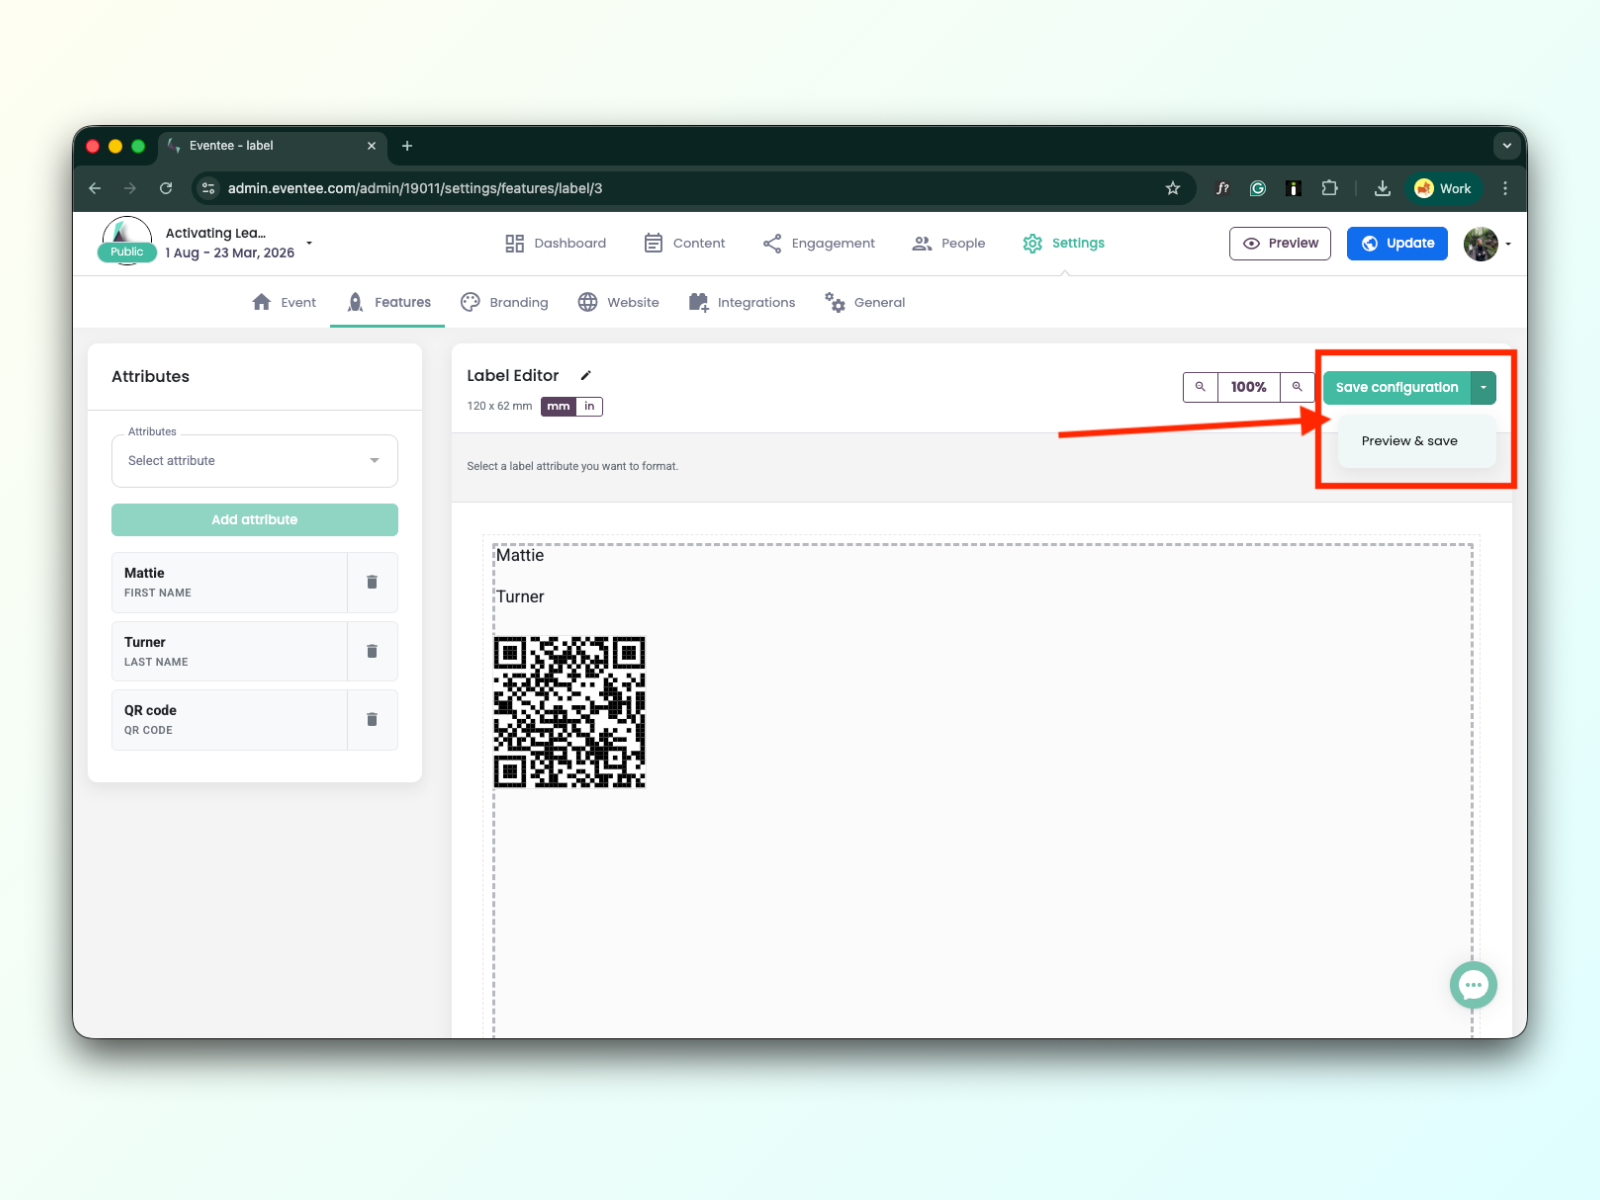
Save and preview button
Saving in the label editor is not automatic; you have to save your work by clicking the green button “Save configuration”.
You can look at how your label will look by clicking on the preview button.
You can check the dimensions of the label in inches as well, using an inch converter
All added attributes to the label editor could be configured:
You can change the sizing of the attributes, and within the text field settings, you have the following options:
Font Type & Size: Choose your preferred typeface and scale.
Styling: Apply Bold or Italic formatting.
Alignment: Align your text to the left, center, or right."