In this guide, you will learn how to build and configure a custom registration form tailored to your specific needs. While the default form covers the basics, creating a custom version allows you to collect exactly the information you need from your attendees.
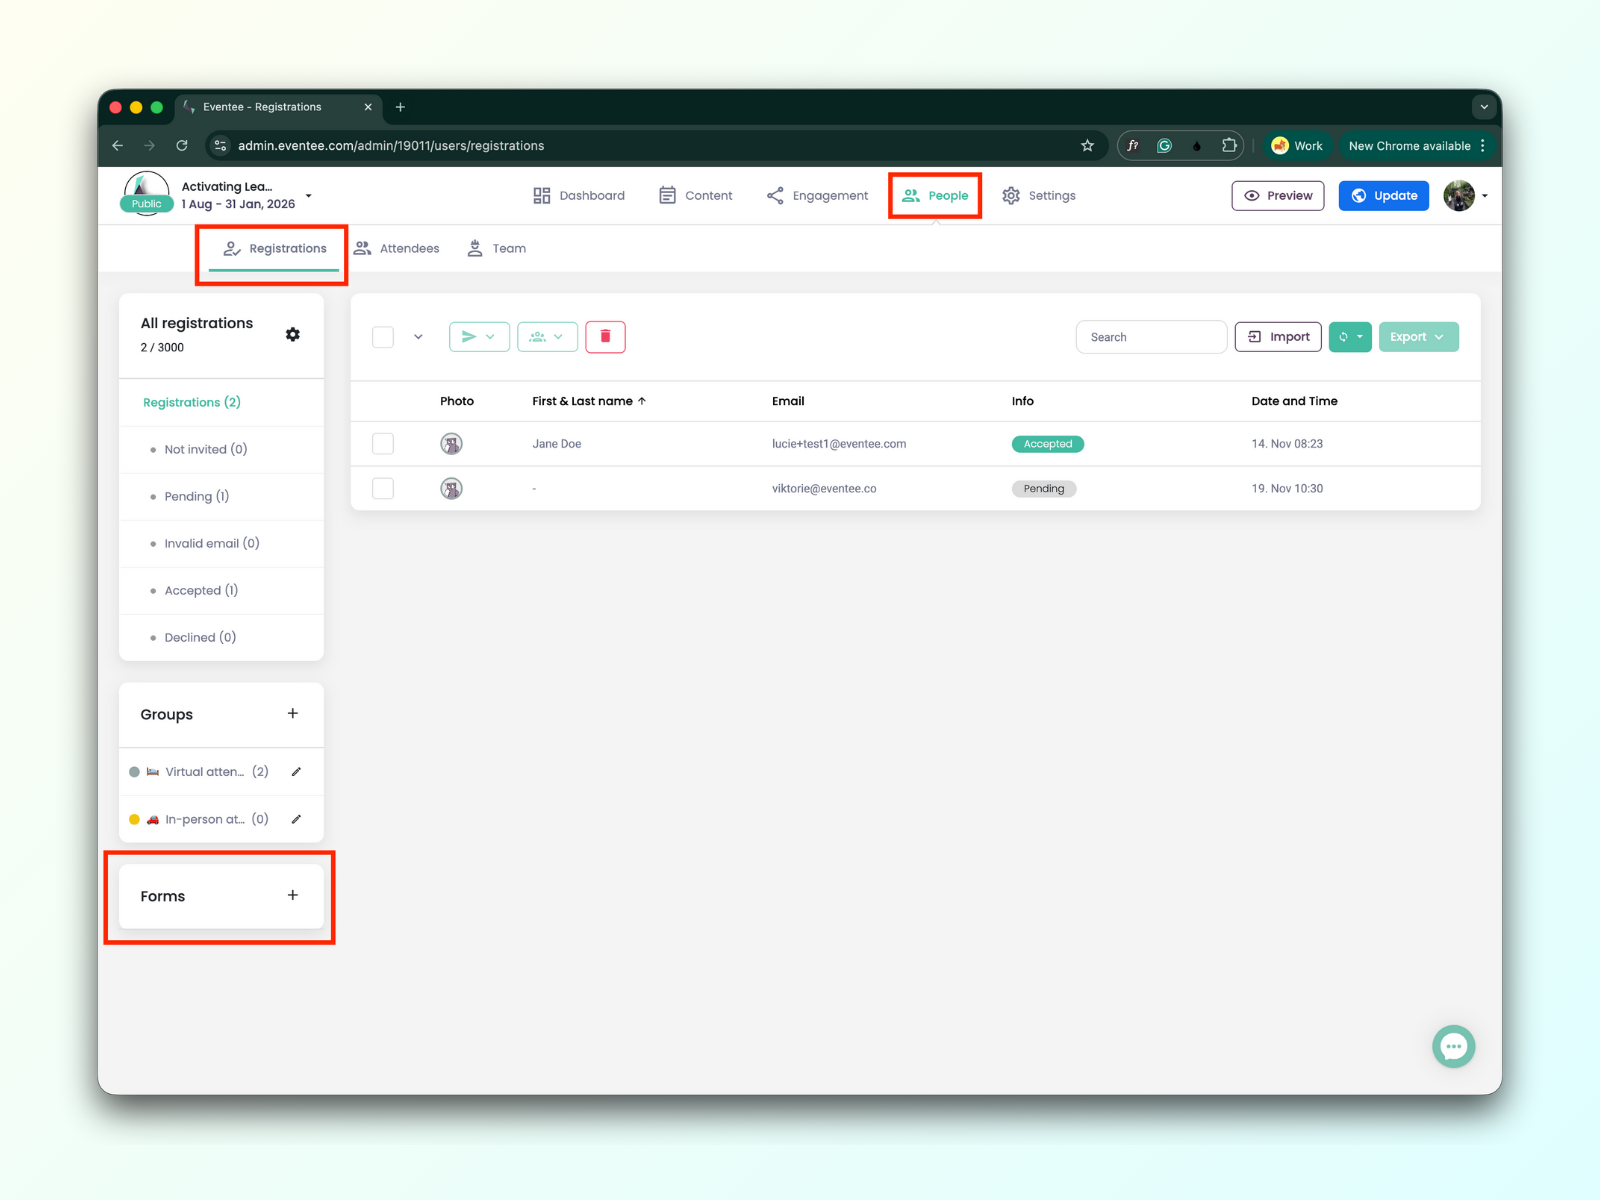
Navigate to People → Registrations
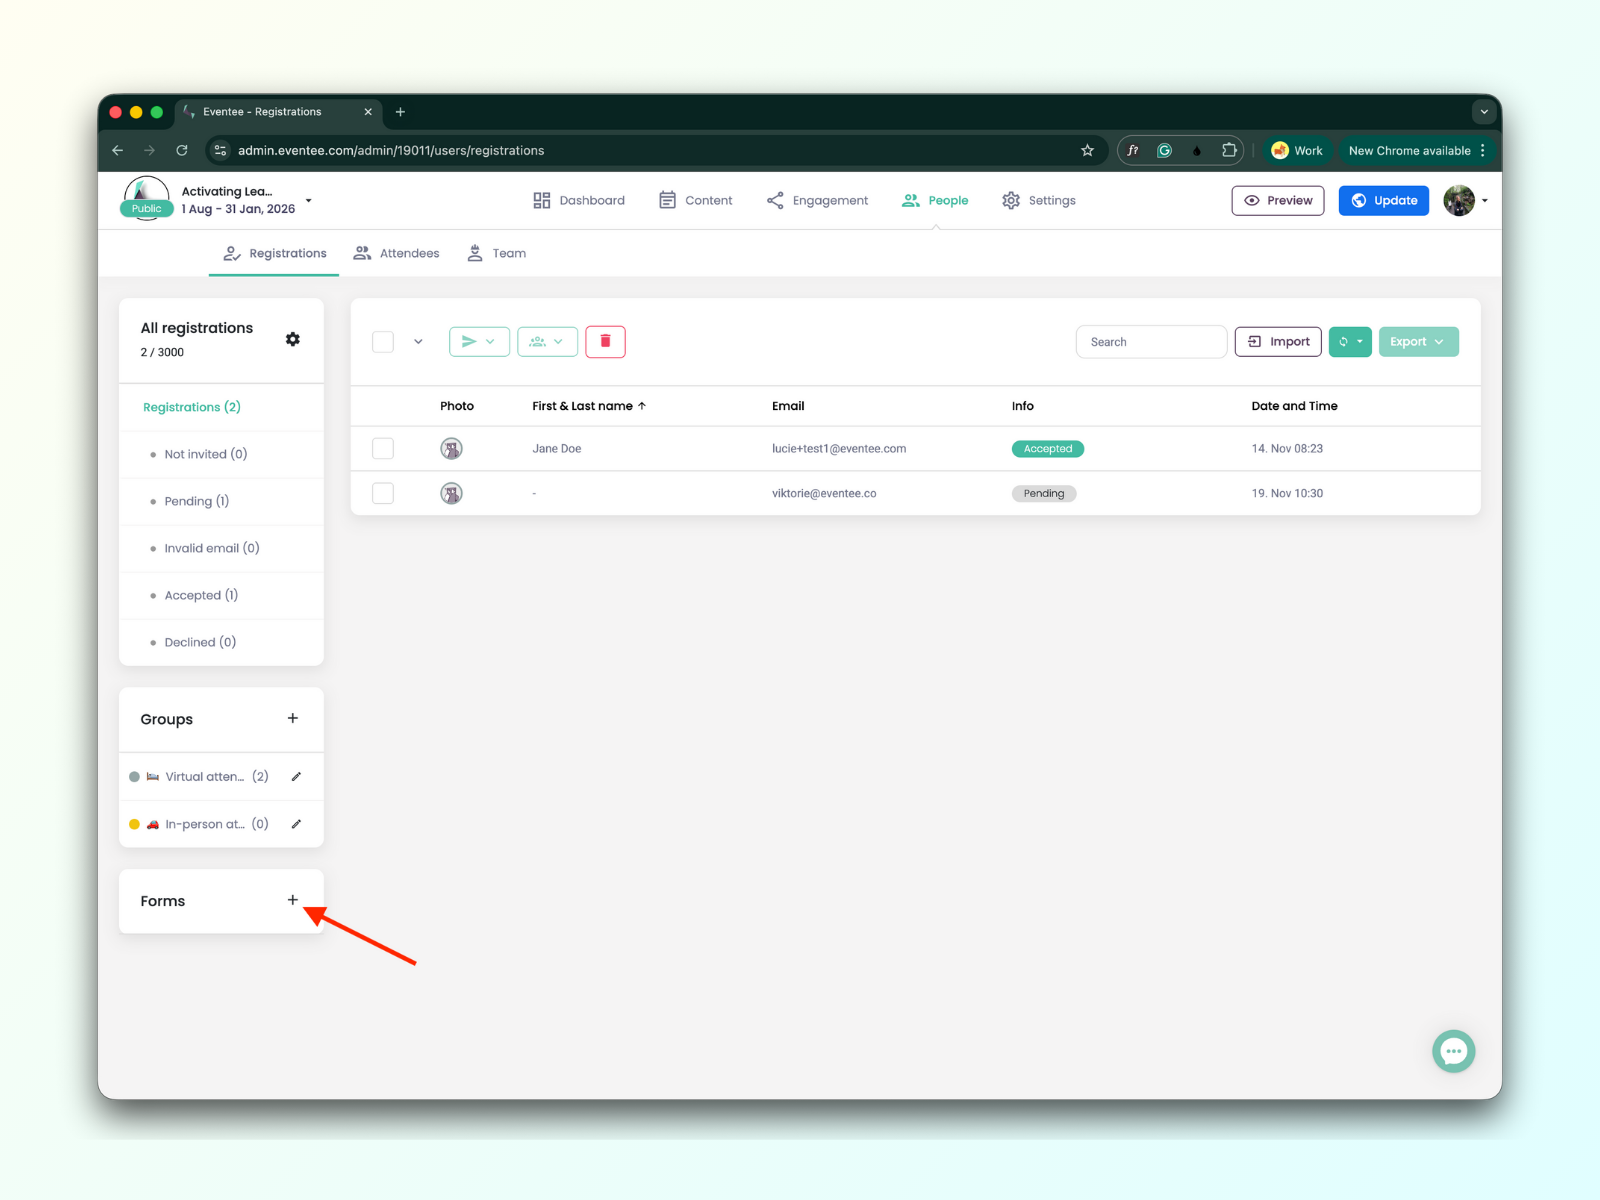
Click the "plus" button to start creating your own form.
Fill in the name of your form and then click the ‘Create’ button.
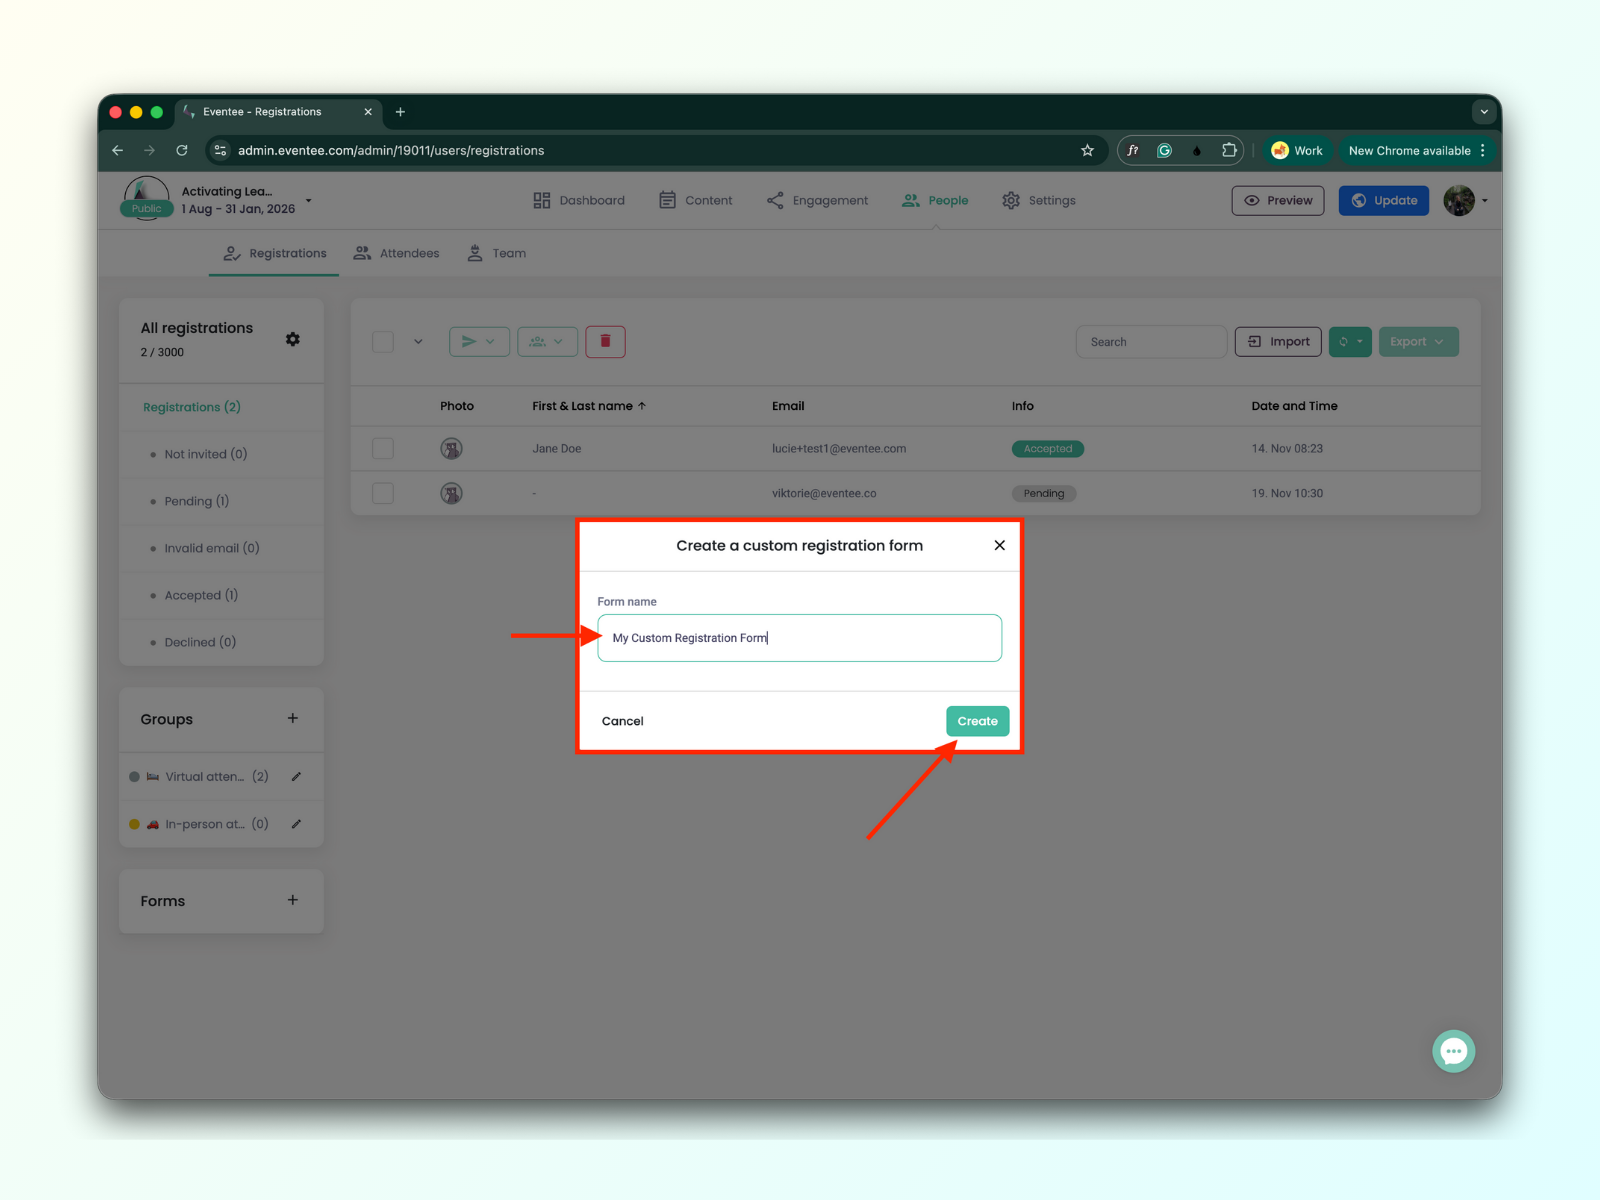
Clicking the "Create" button will take you to the ‘Create a Custom Registration Form’ screen.
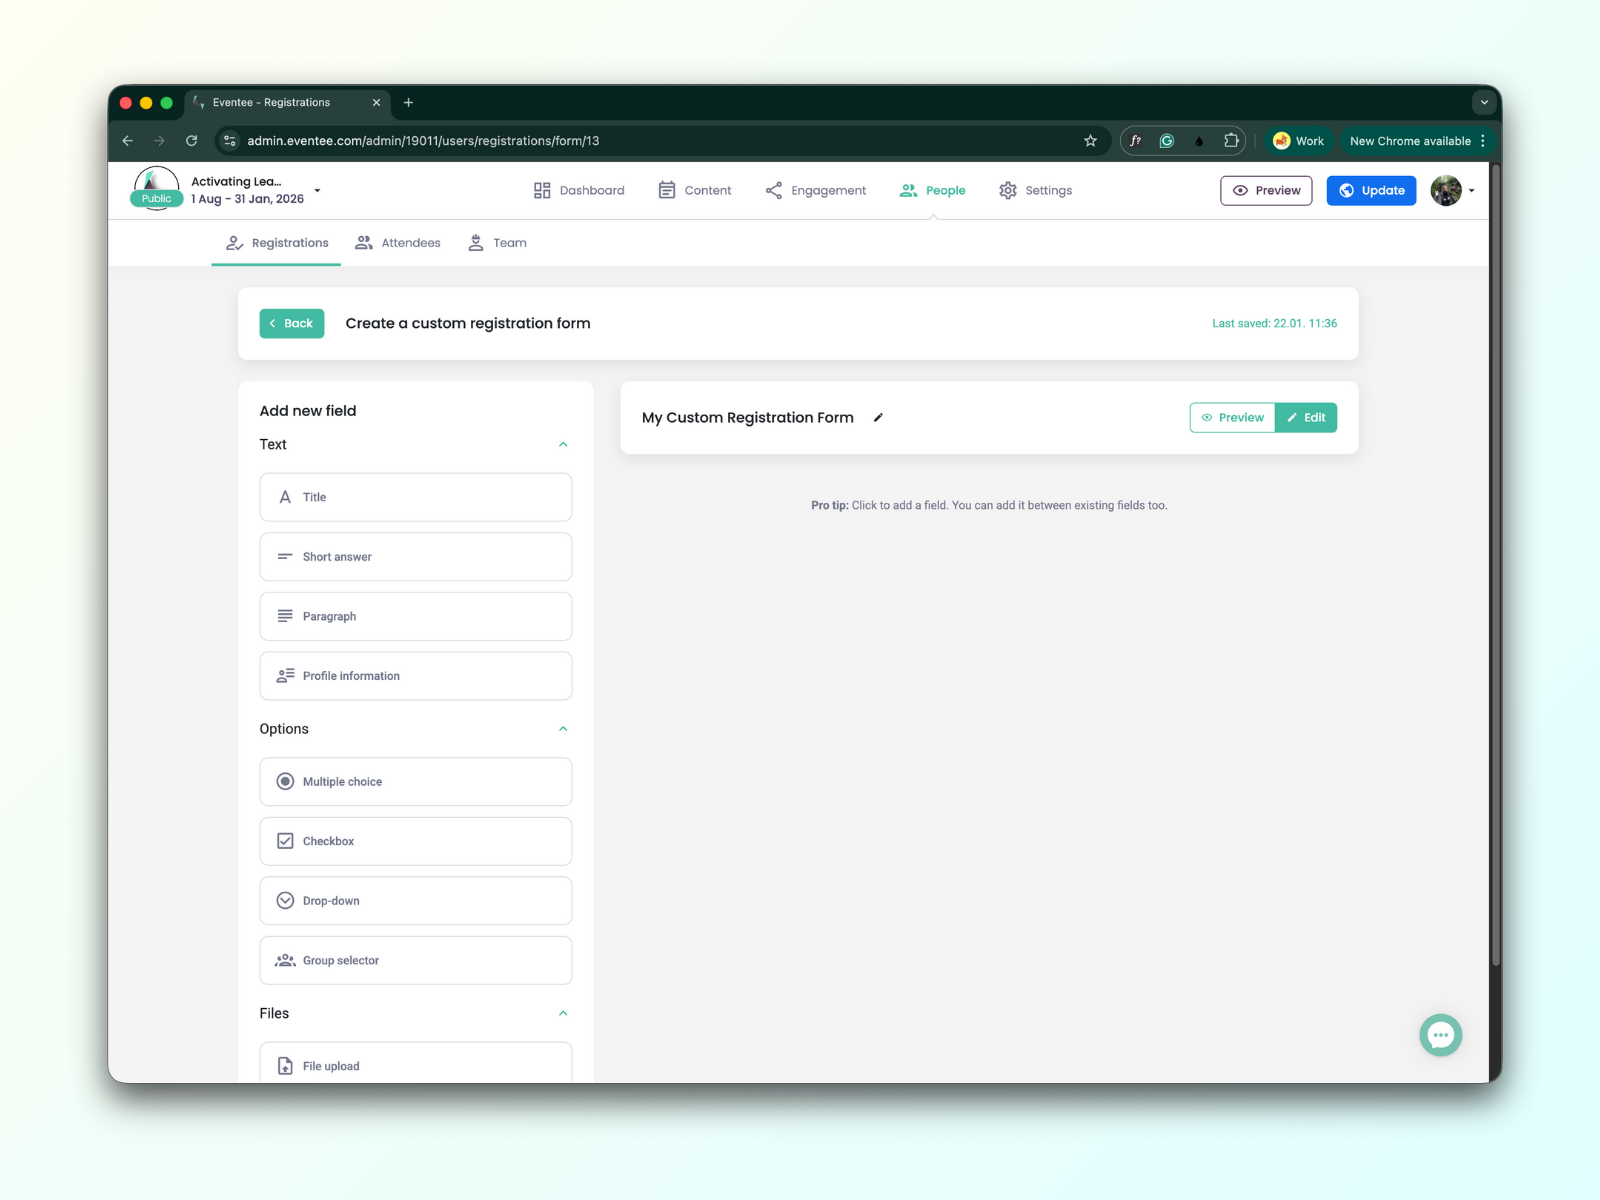
Start by adding your first form element. All form elements are located in the left sidebar. You have a choice of text-based fields, selection options, or file attachments.

Text-based fields
Title
To organize your form into sections, use the 'Title' element to create clear headings.
Short answer
This field can be used for shorter answers; the maximum length is 1,024 characters.
Paragraph
This field can be used for longer answers; the maximum length is 32,768 characters.
Profile information
Once the form is submitted, this information will automatically be added to the attendee's profile.
You can add to your form the following attendee profile information:
Phone
Bio
Web
Position
Profile picture
Selection field types
Multiple choice
The ‘Multiple Choice’ element presents a list of options. If the attendee selects one, the previous selection will automatically be deselected. It is best used for mutually exclusive answers.
Ideal for short lists (2-6 options), all options are visible at once, often used for yes/no questions
Checkbox
Checkboxes are best used when you want an attendee to select one or more options from a list.
Drop-down
The Dropdown is the standard choice for ‘select one’ scenarios with a long list of options.
Perfect for long lists (countries, companies, etc.), useful on mobile when too many options would clutter the screen.
File upload fields
File upload
Attendees can upload all kinds of files. The limit is 25MB per file.
Profile picture
Once the form is submitted, this information will automatically be added to the attendee's profile.
You can now edit your added fields using the form editor in the right sidebar.
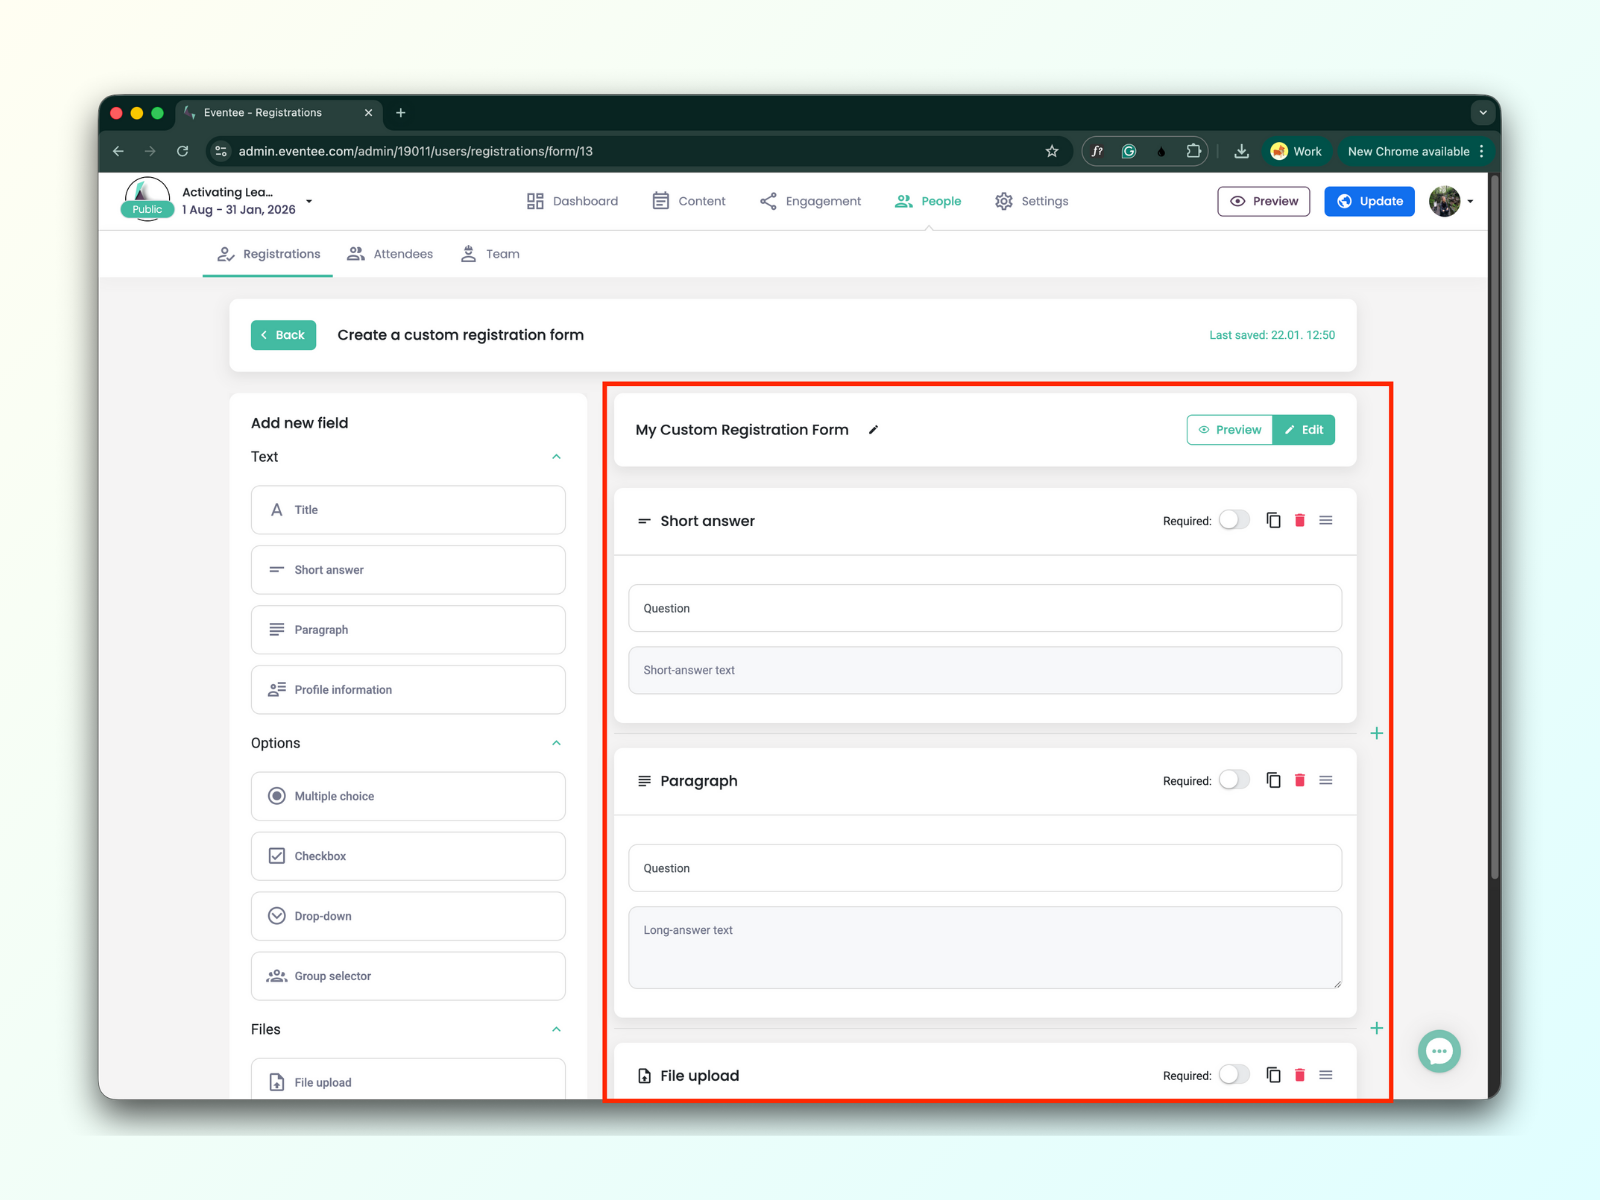
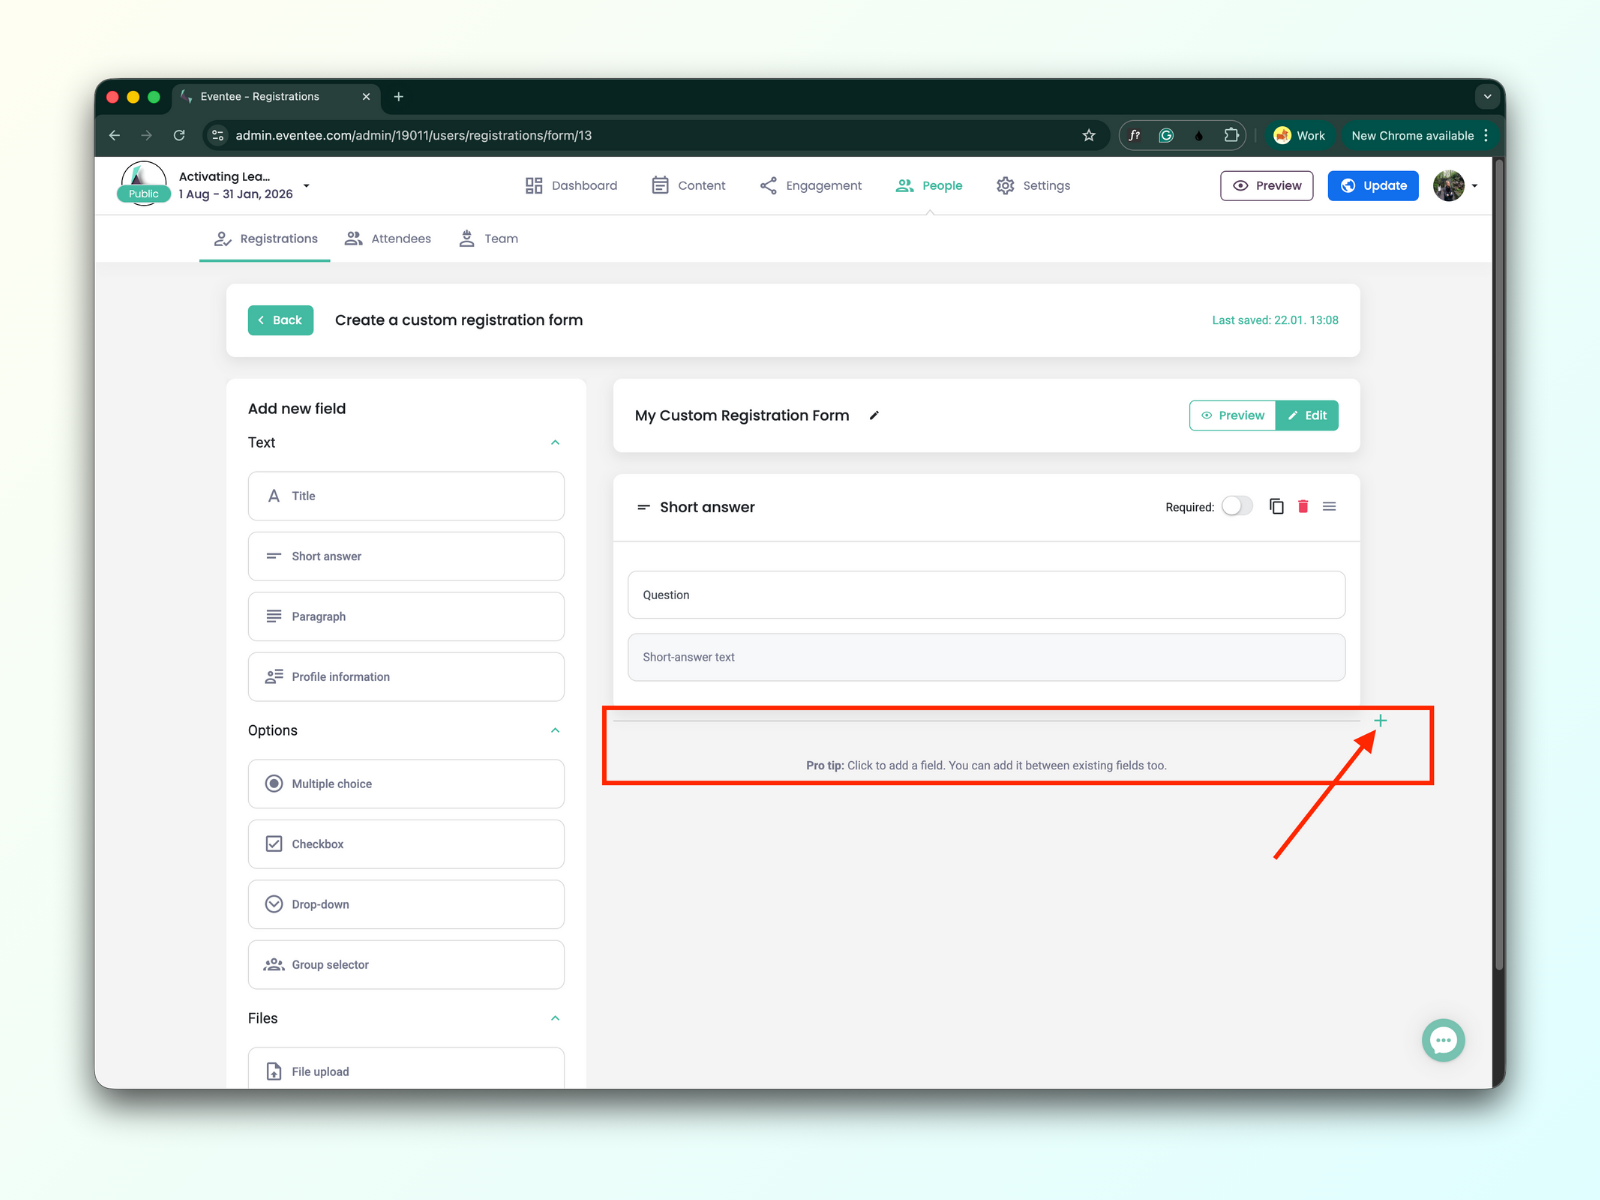
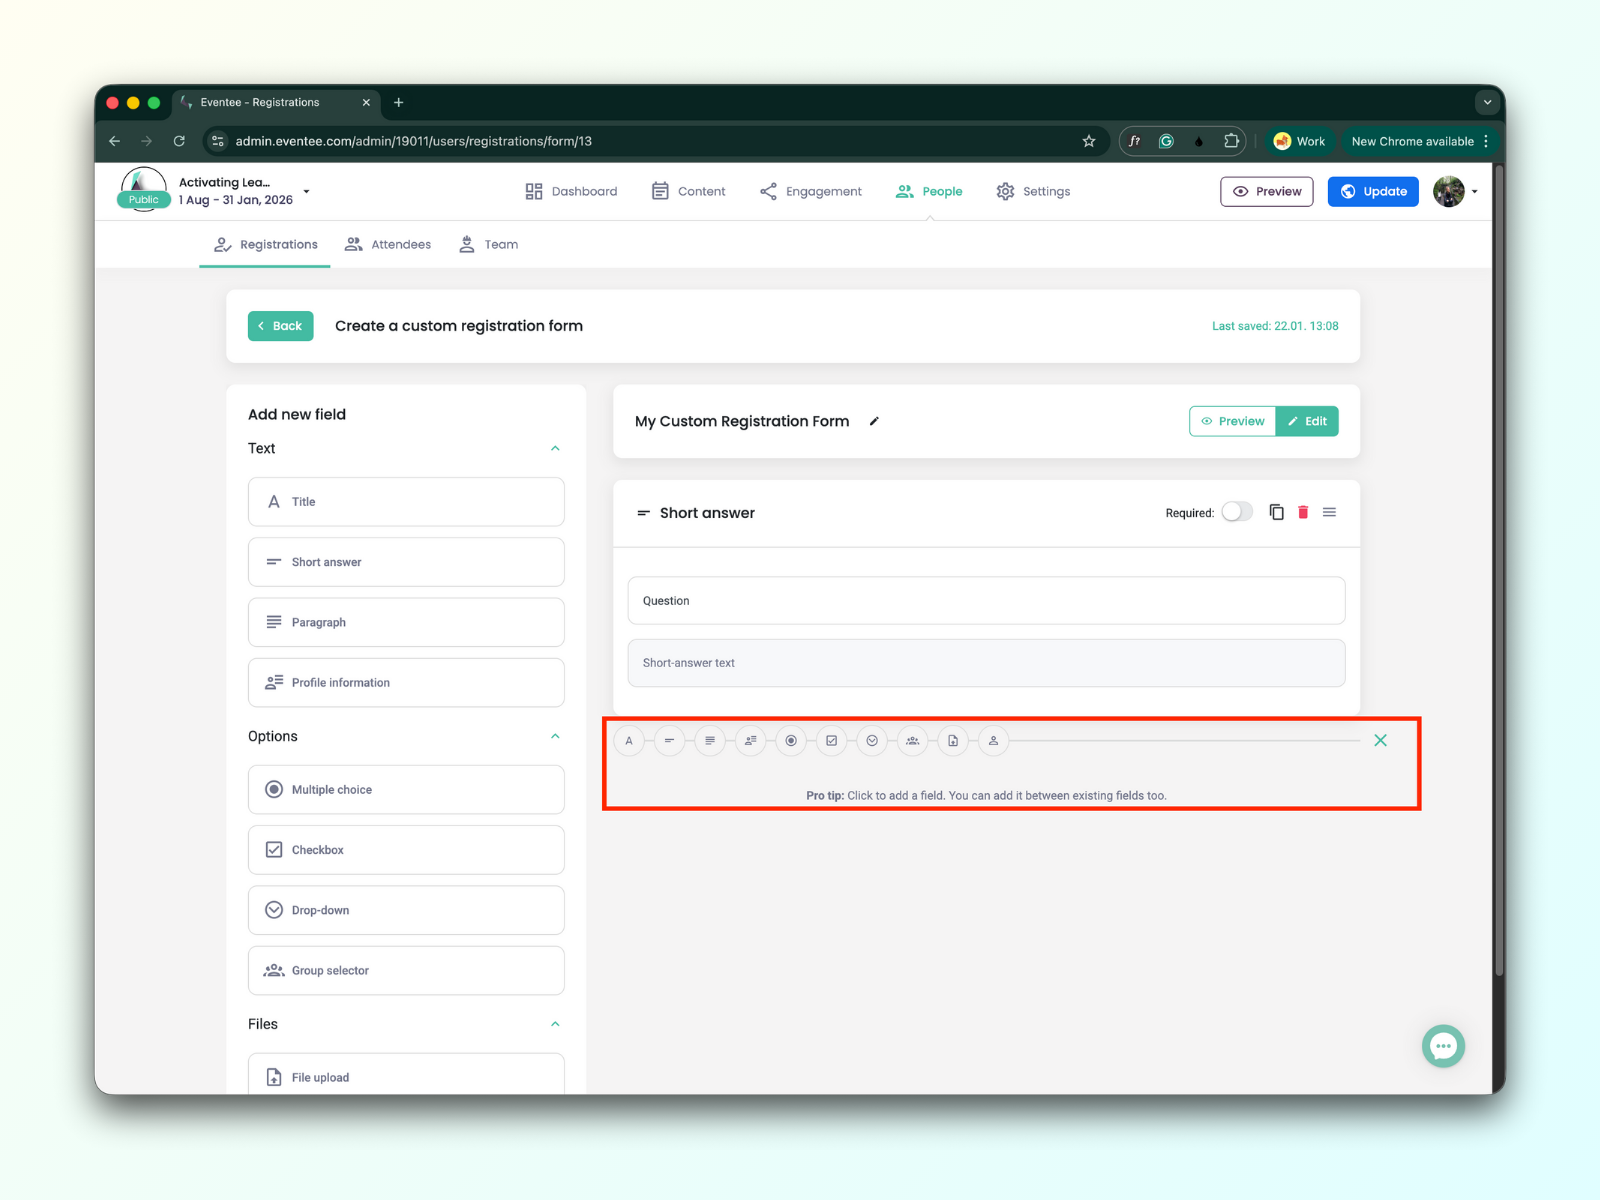
The new field can be added in the editor as well, using the plus icon.
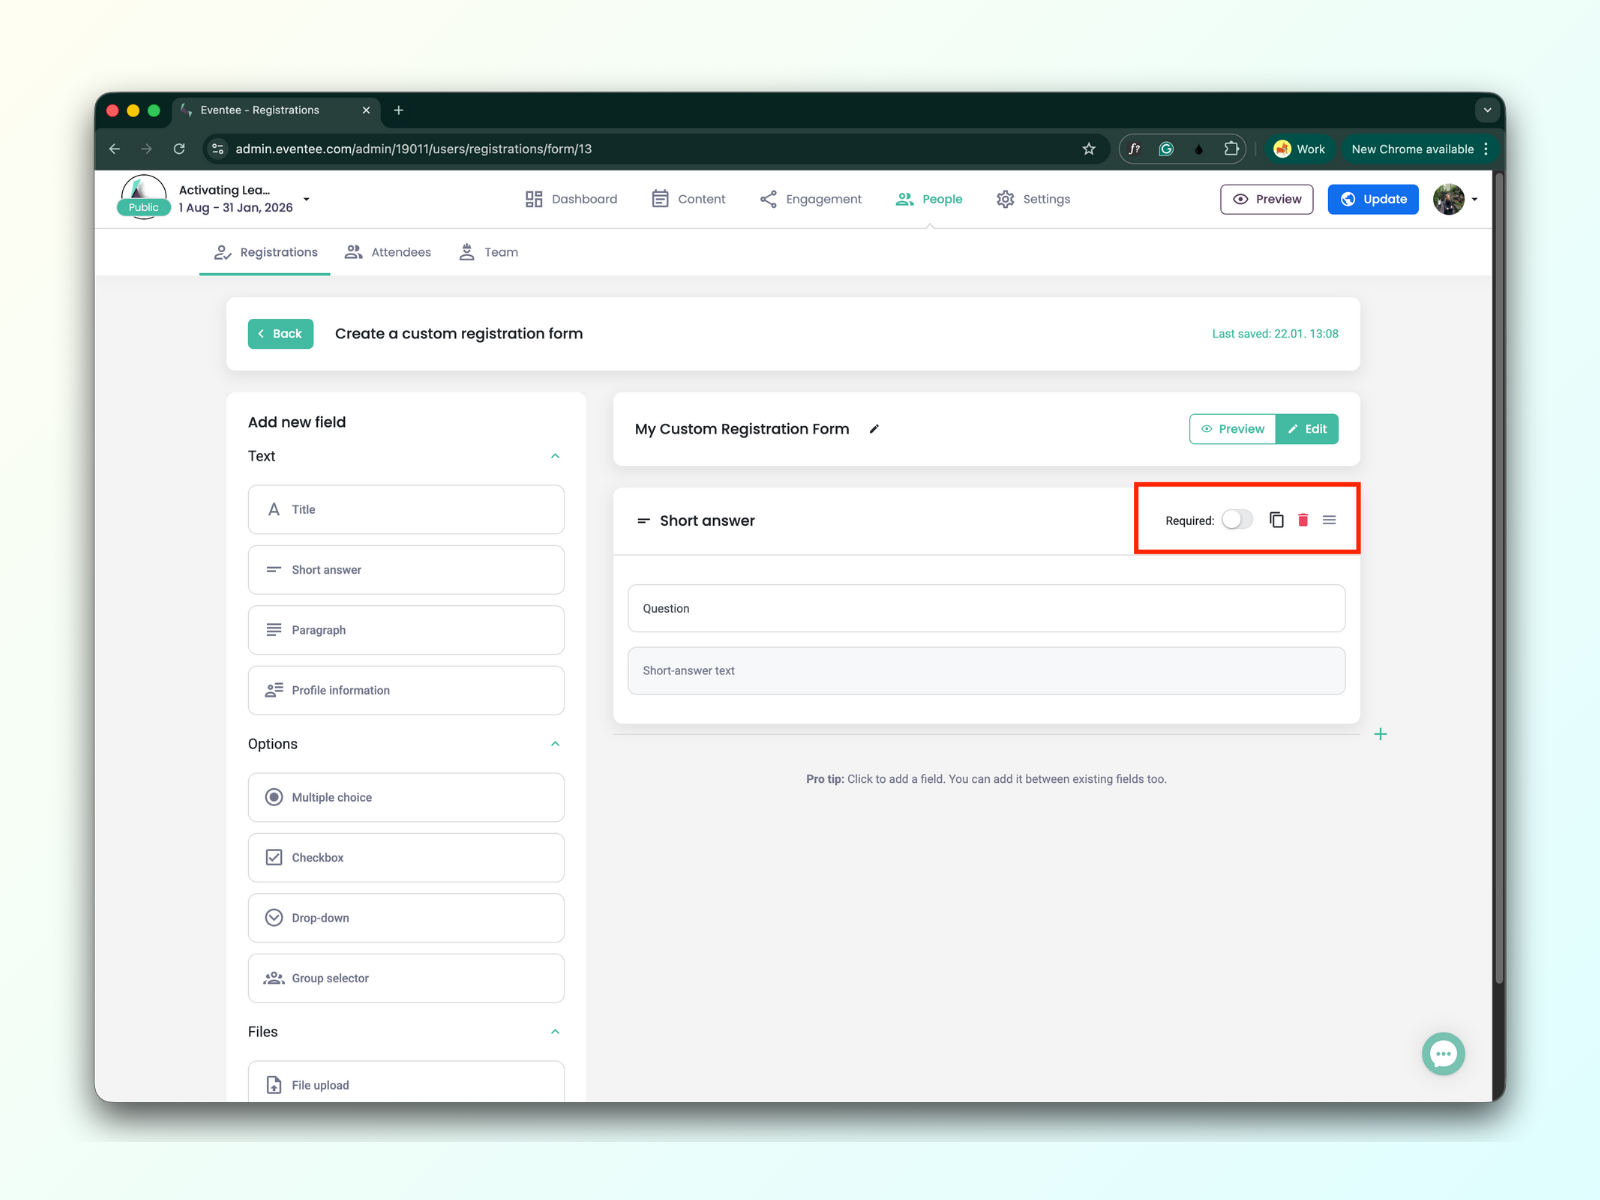
Each field you add can be duplicated, deleted, or marked as required. Additionally, you can reorder the form fields.
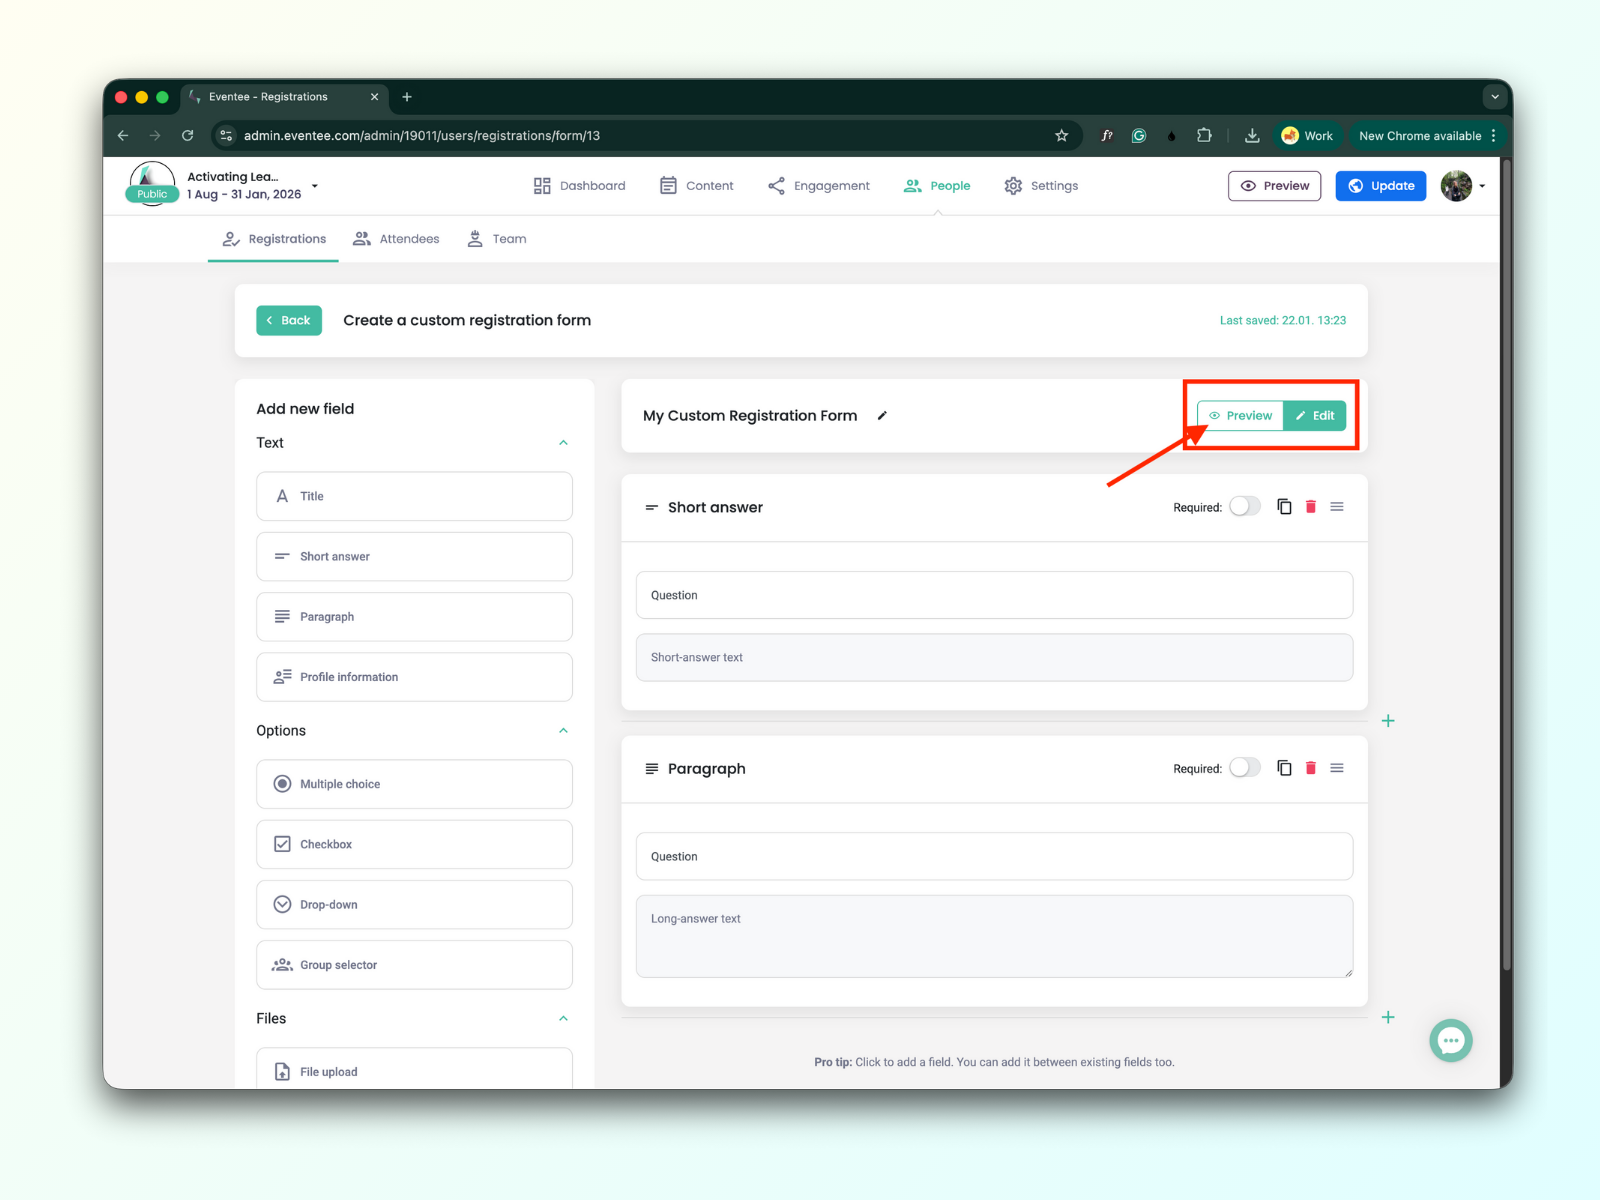
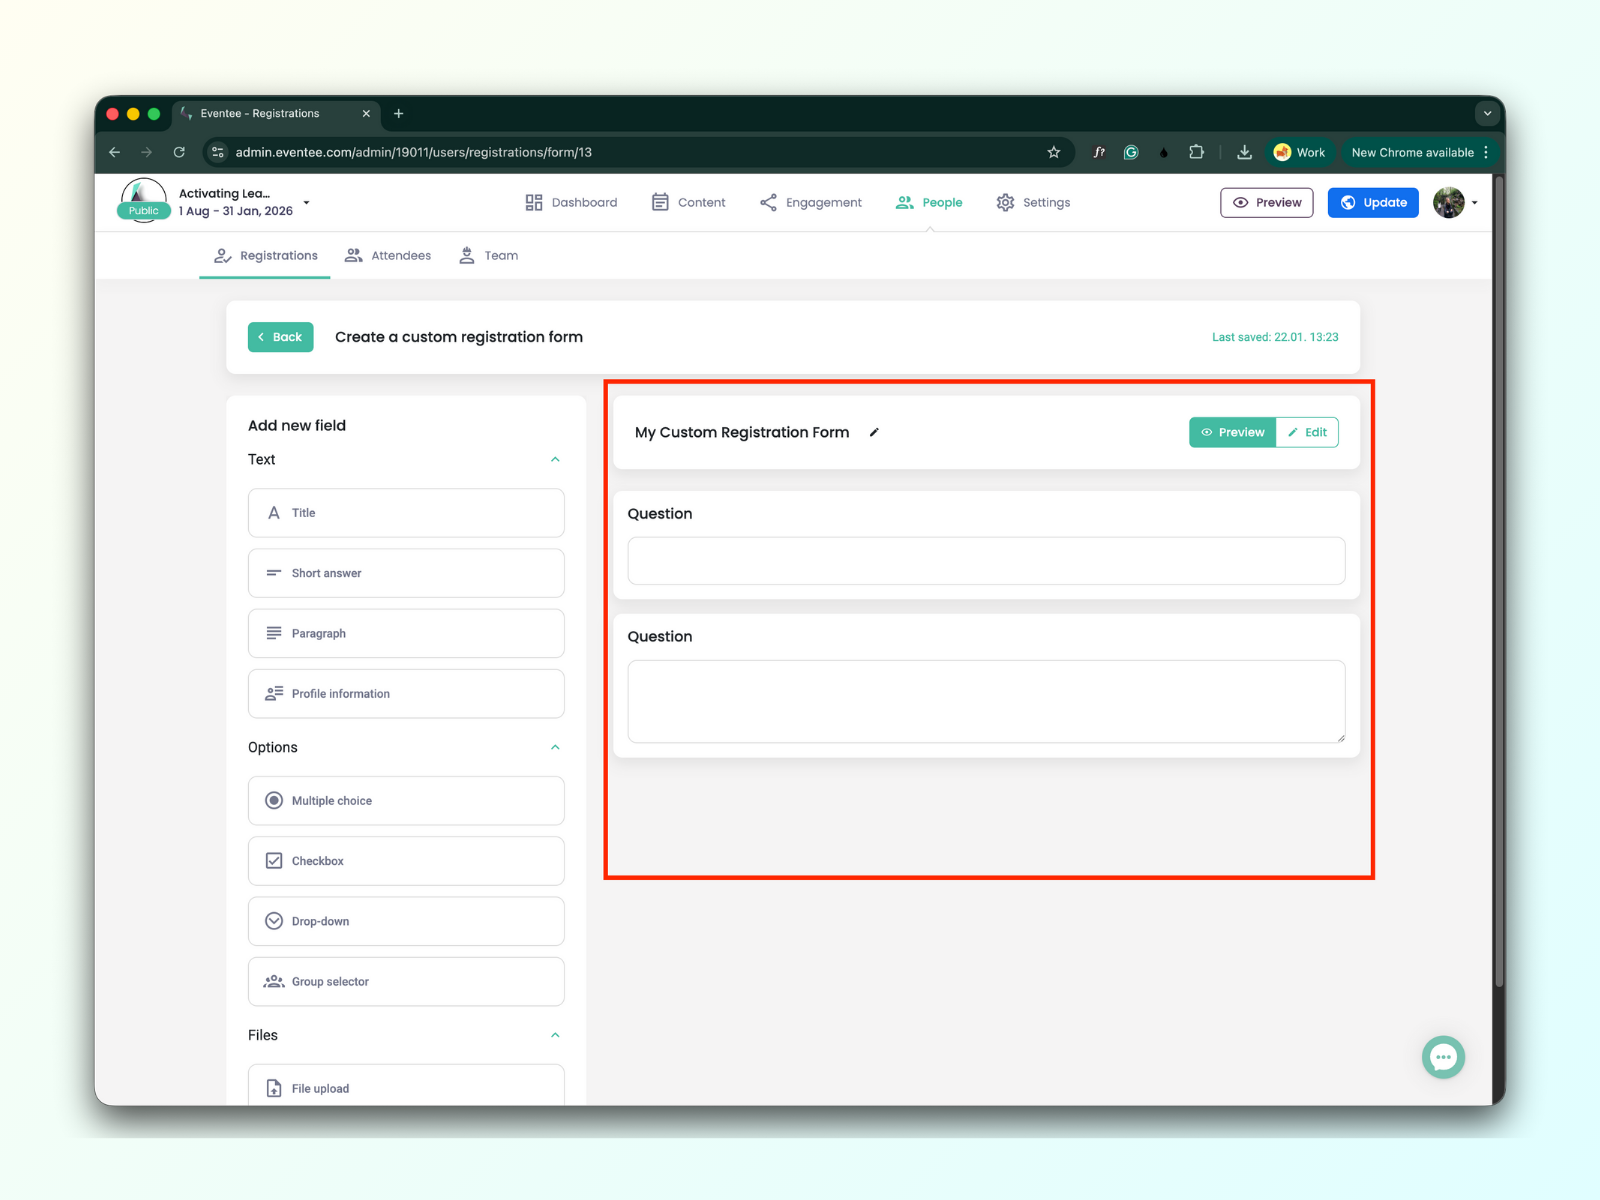
You can see how the form looks in the ‘Preview’ button. The preview button is next to the ‘Edit’ button.
Changes are auto-saved in the form editor. The status of the last save is displayed in the top-right of the screen.

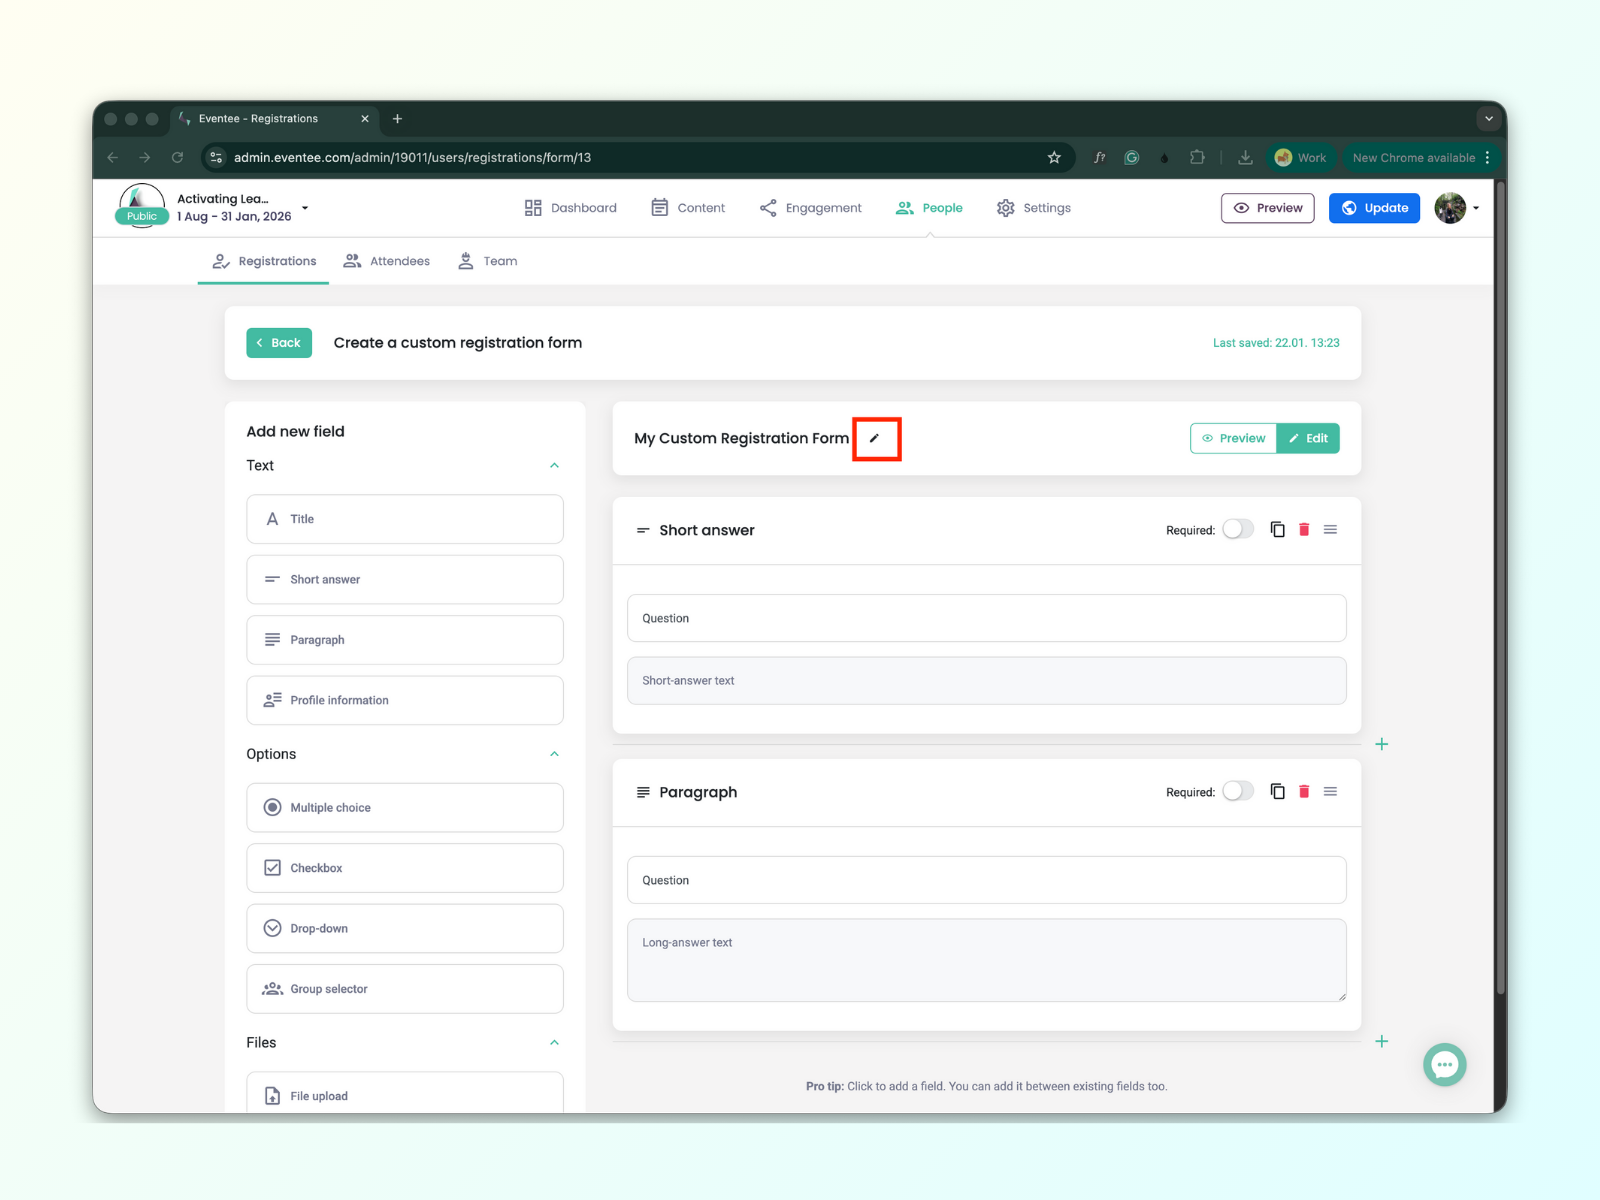
You can find the ‘Edit’ button next to the form title. Clicking it opens a modal window where you can edit the form's name.
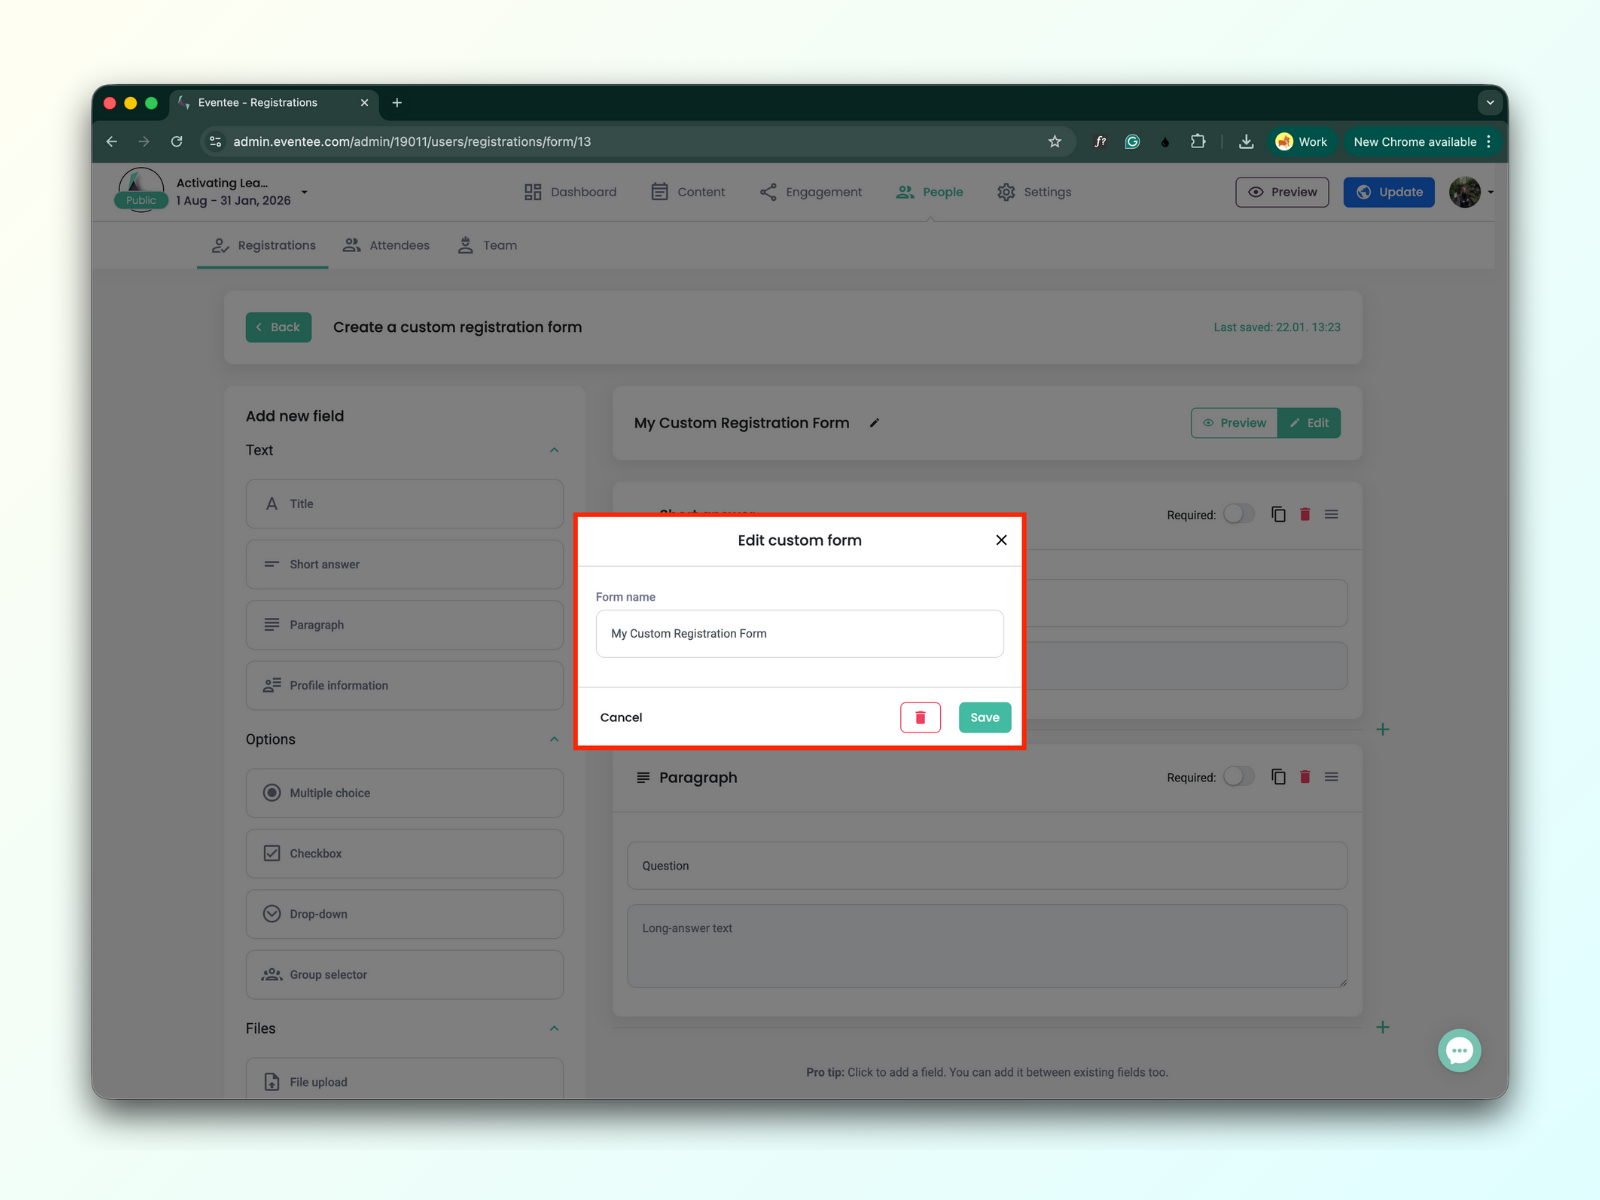
To delete the form, click the trash icon and confirm the action in the warning message by clicking 'Yes'.

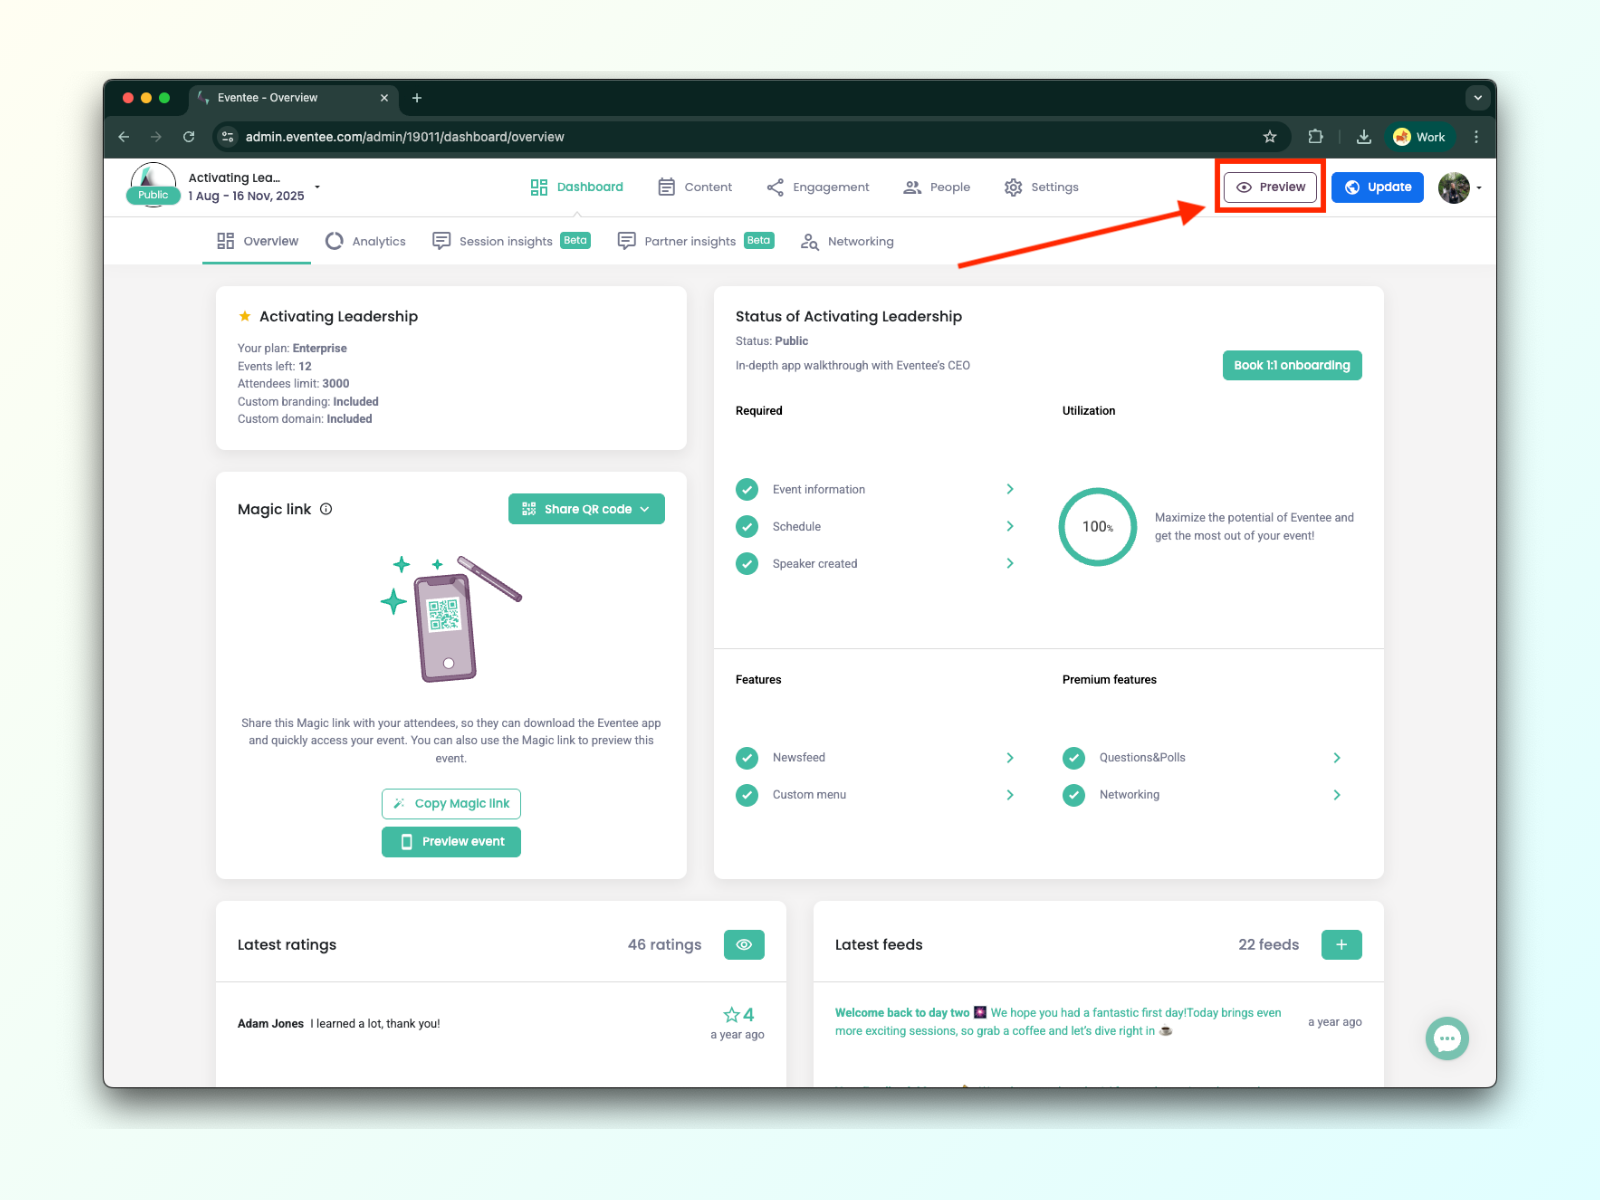
Yes, you can create a custom registration form even if your event hasn't been published yet. You can test the form by clicking the 'Preview' button and opening the link to the registration form.
Simply follow these steps:
Click on the Preview button.
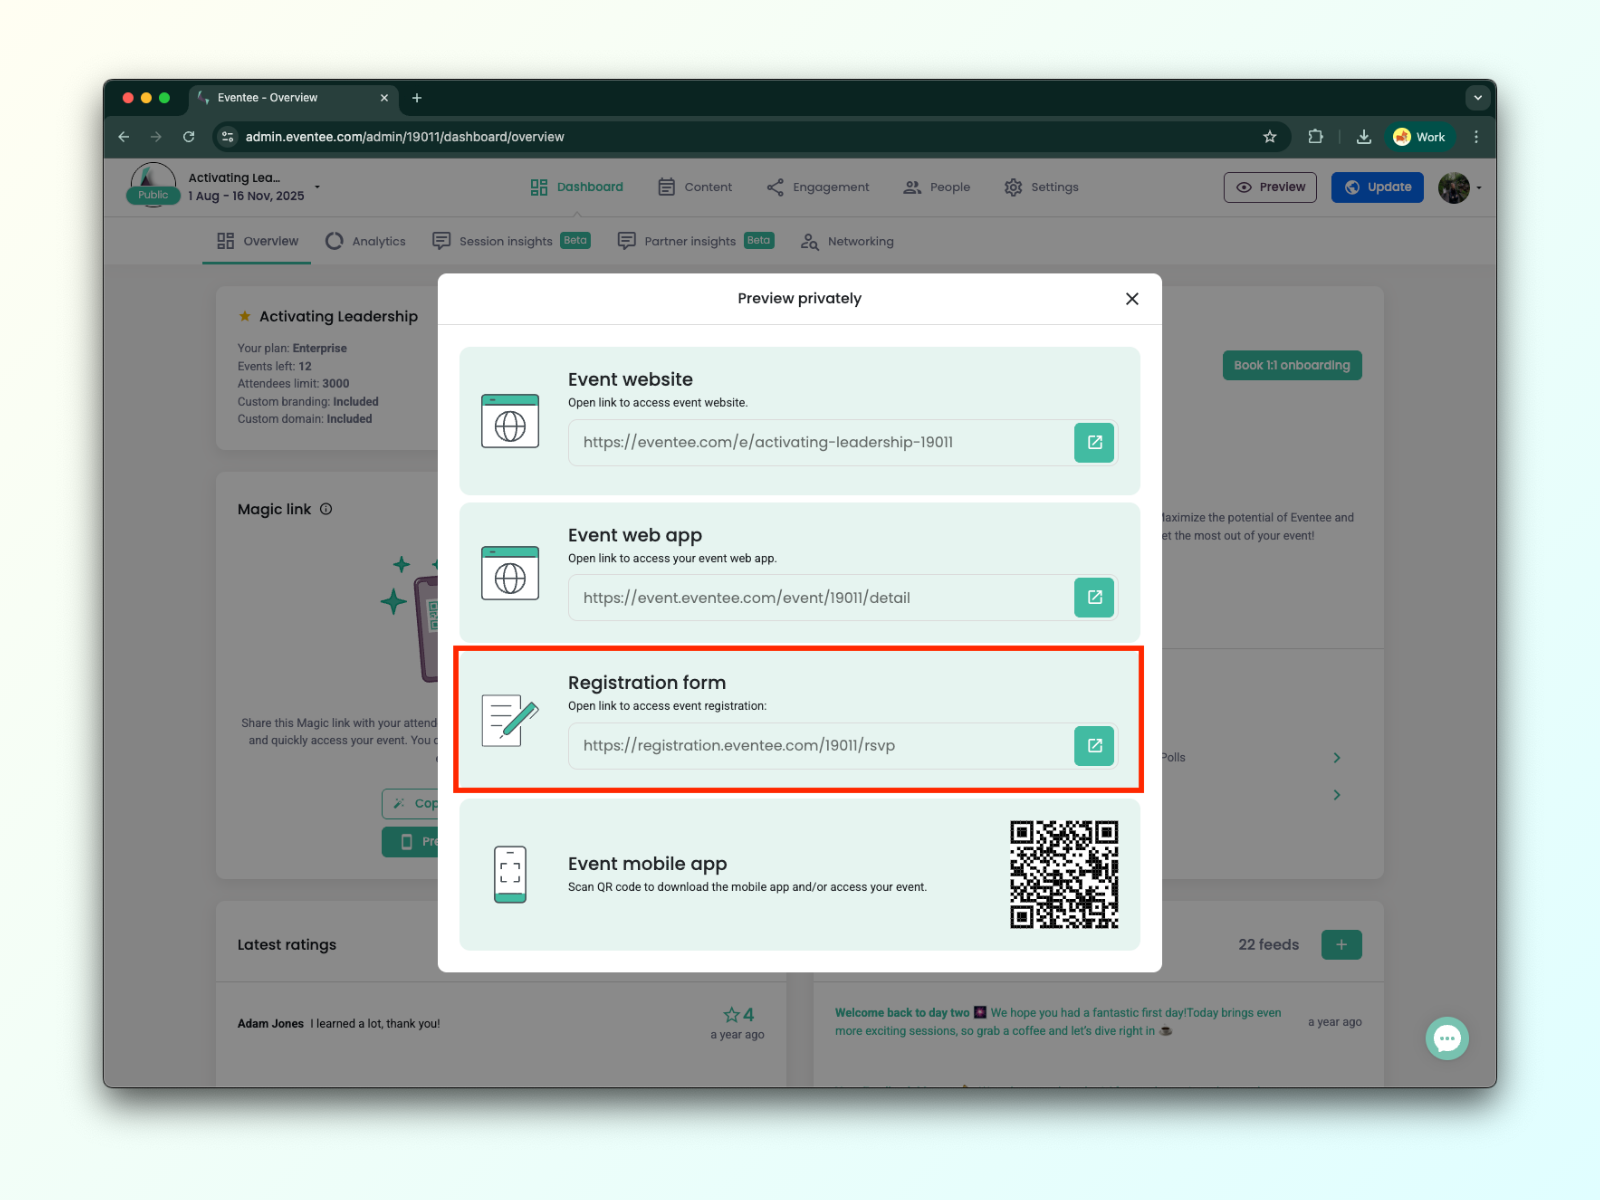
In the pop-up window, you’ll find the URL link to access the registration form.
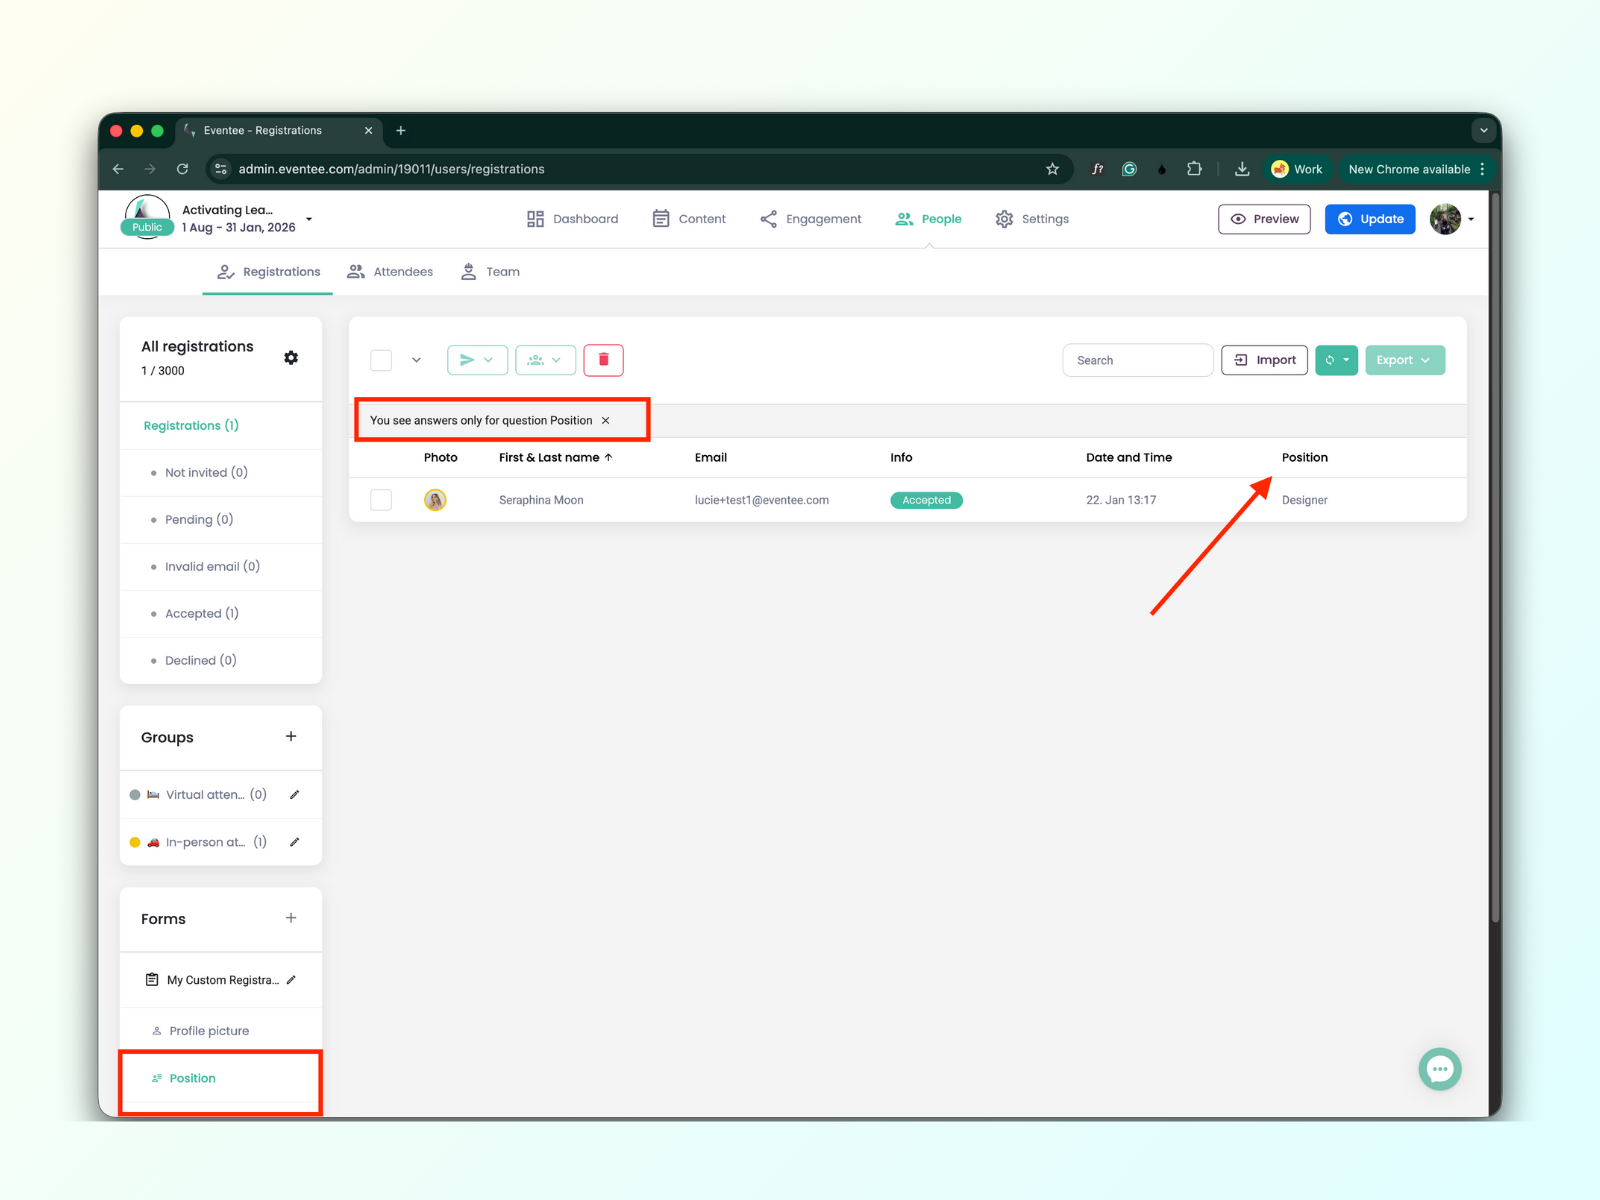
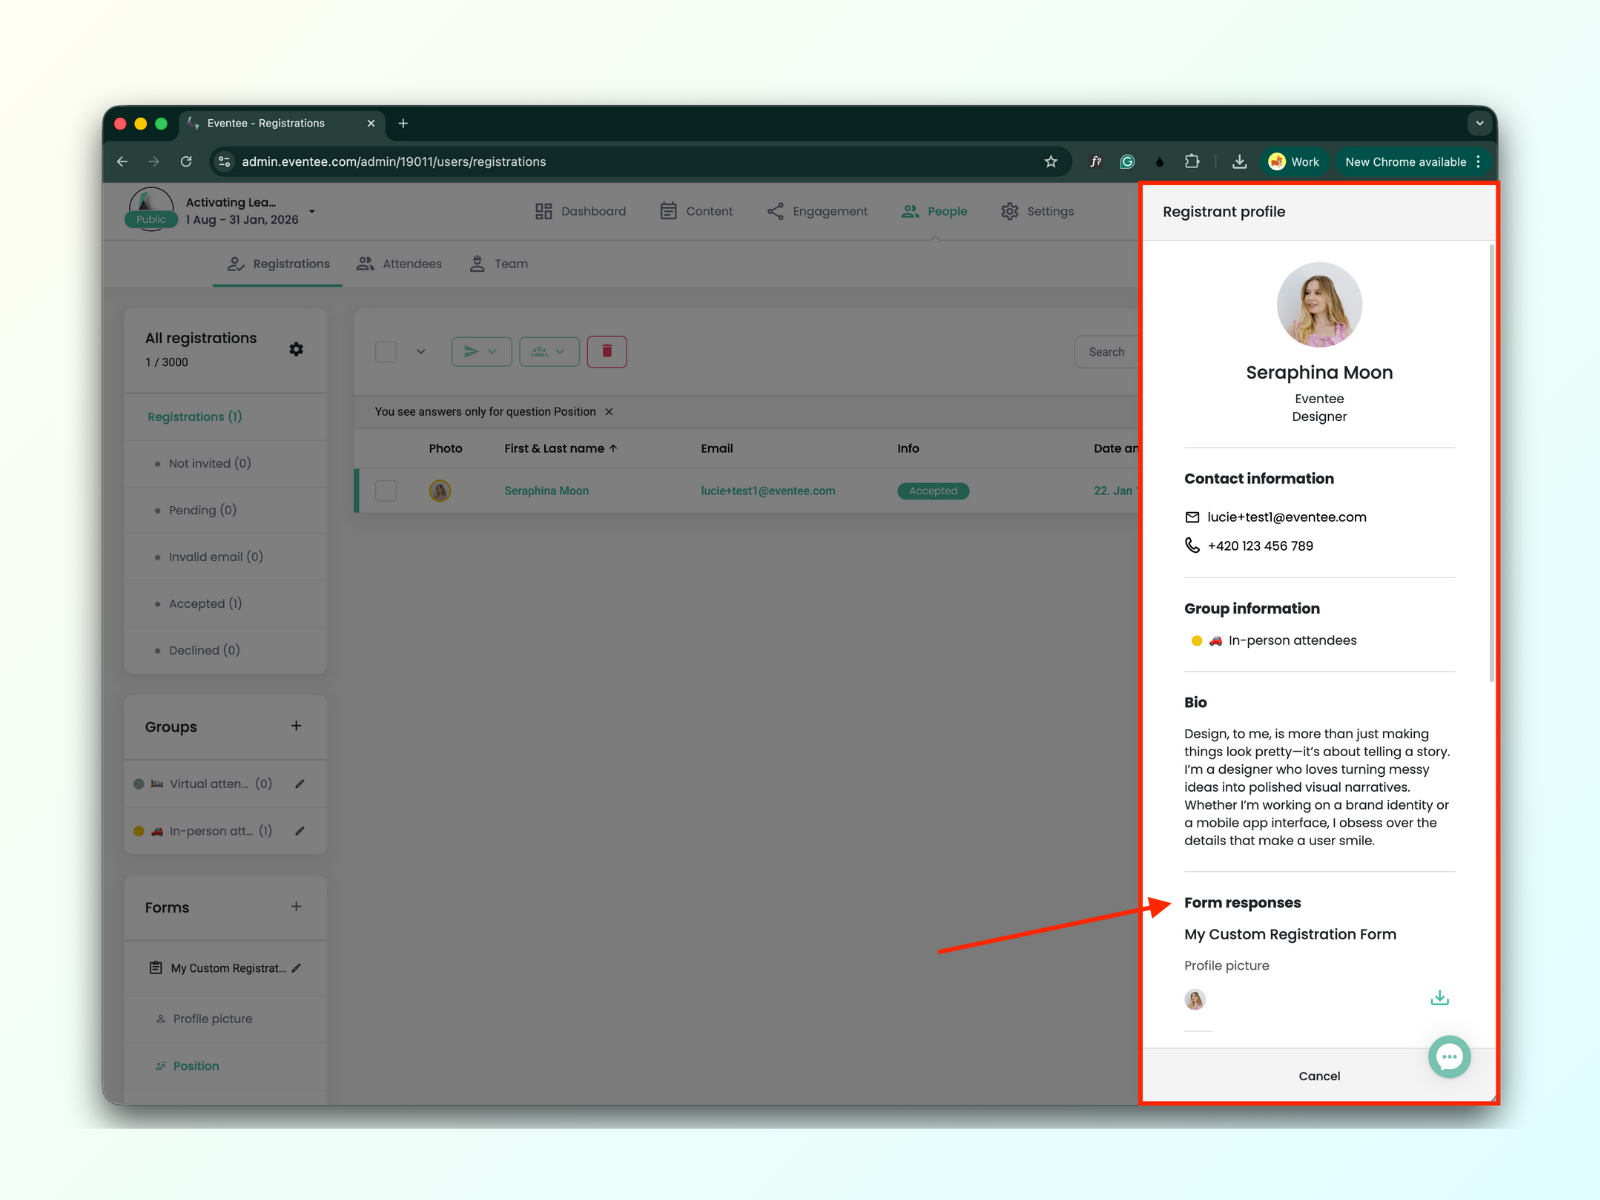
You can find all data from the submitted registration forms in the Registrations table.
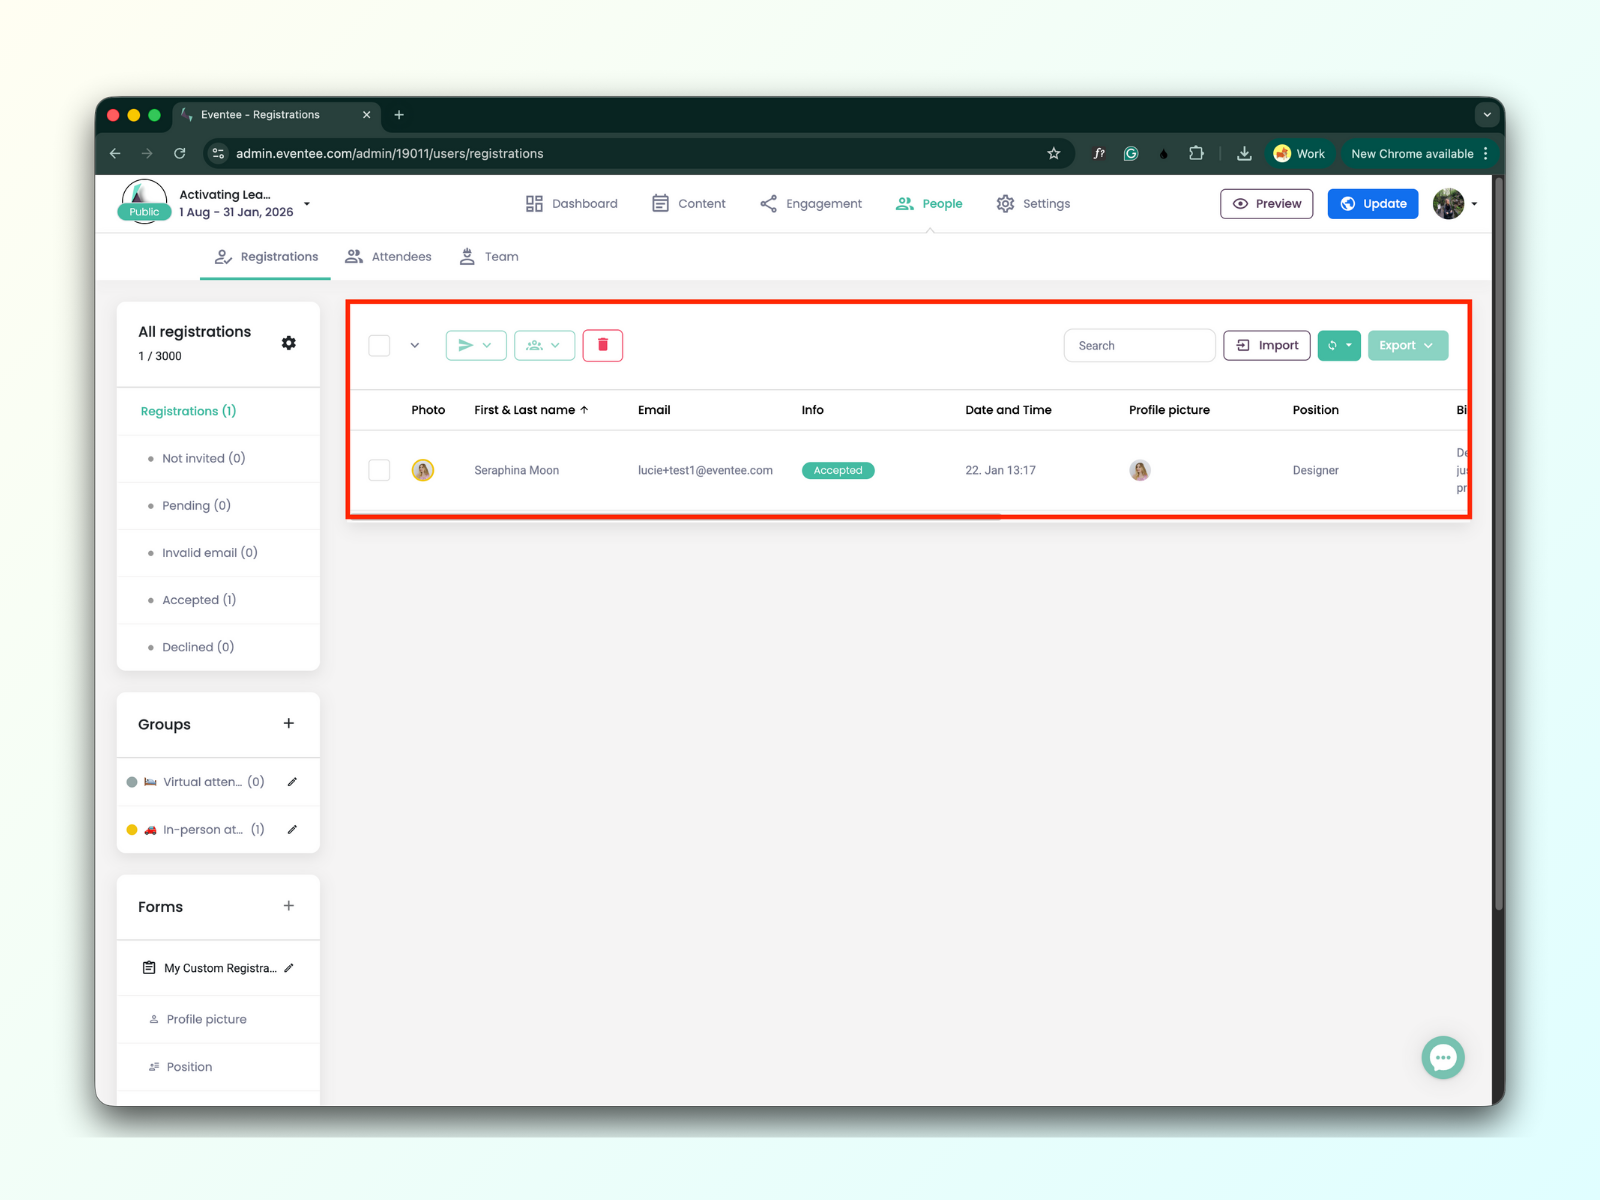
You can filter the table data by individual questions from your custom form.